Key Takeaways
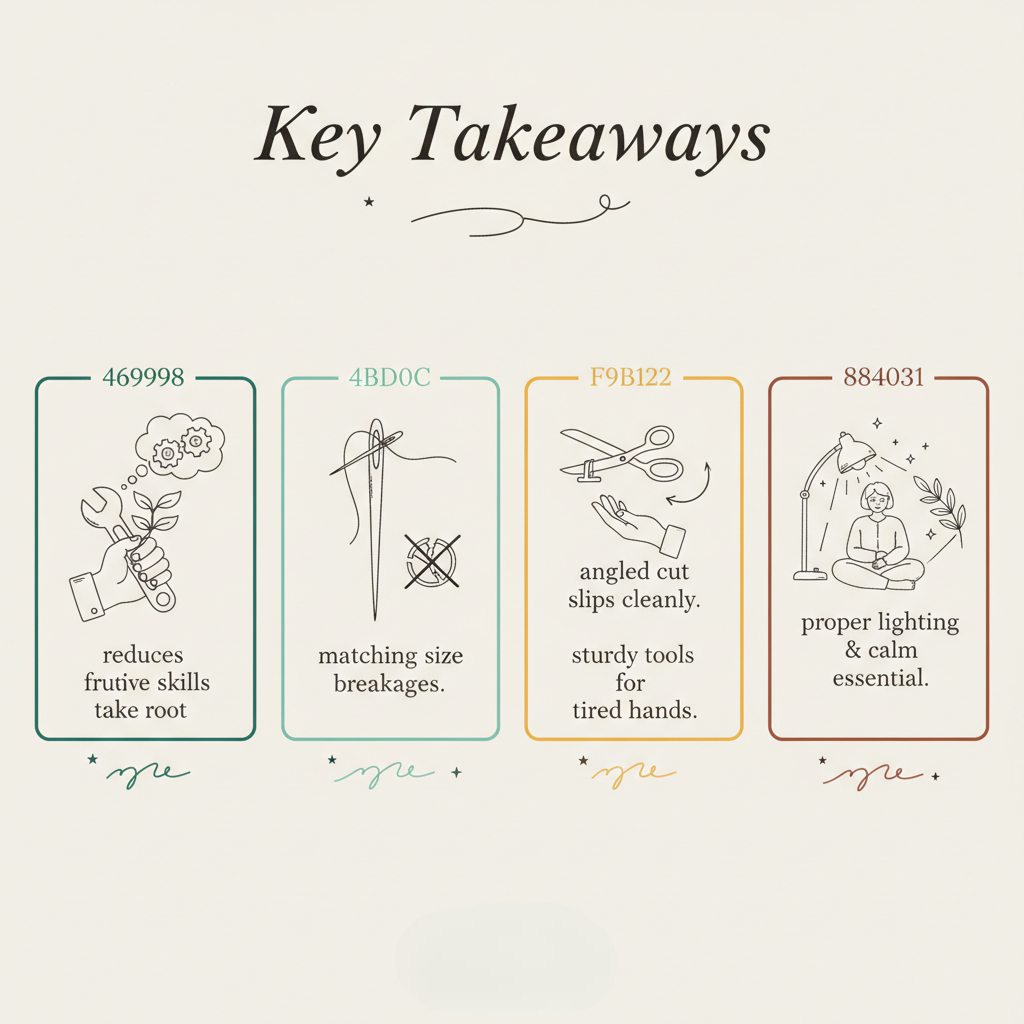
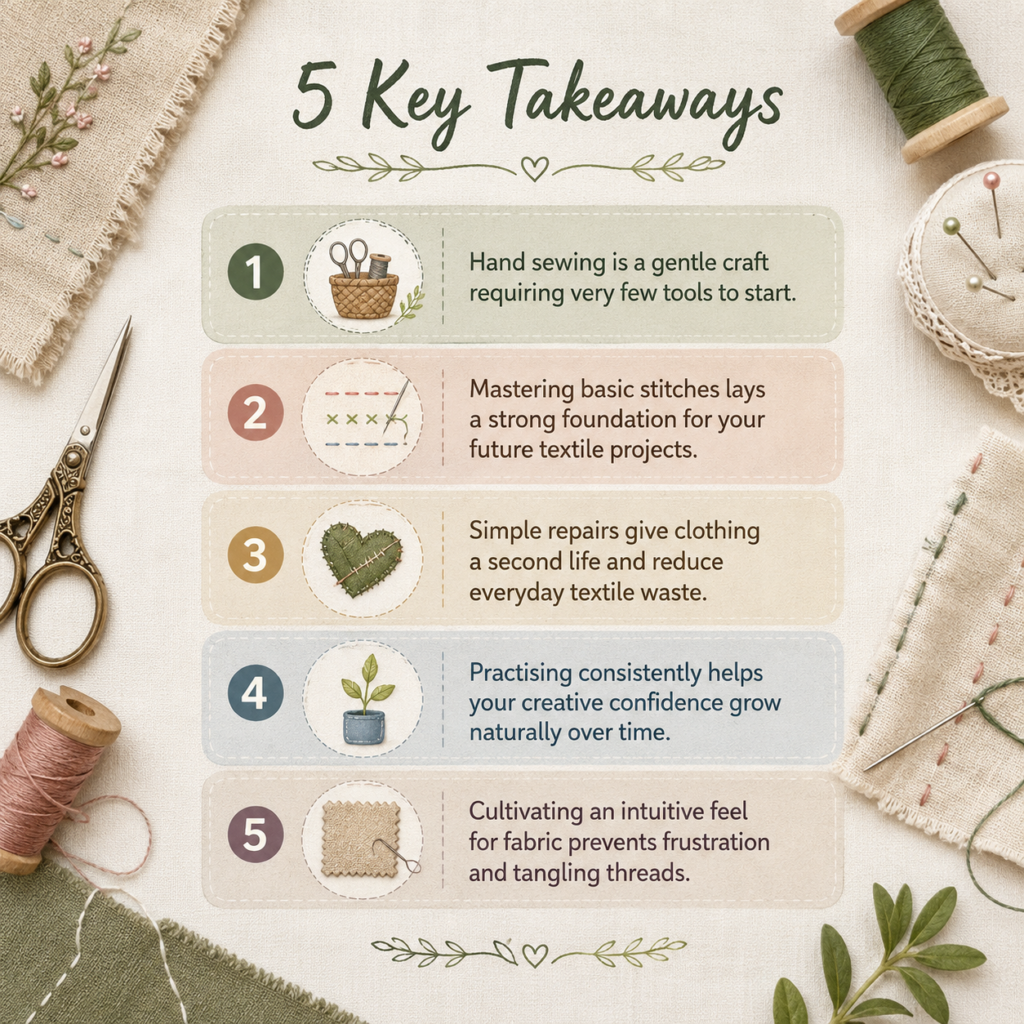
- Hand sewing is a gentle craft requiring very few tools to start.
- Mastering basic stitches lays a strong foundation for your future textile projects.
- Simple repairs give clothing a second life and reduce everyday textile waste.
- Practising consistently helps your creative confidence grow naturally over time.
- Cultivating an intuitive feel for fabric prevents frustration and tangling threads.
Every beautiful garment begins as a simple idea. It starts like a small seed waiting to sprout. If you want to learn how to sew with a needle and thread for beginners, you are in the right place. We will guide you gently through this rewarding process. Sewing with needle and thread is a wonderful, calming activity. It connects you deeply to the items you wear and use daily. You do not need complex machines or expensive equipment. You only need patience and a willingness to learn.
Your skills will grow steadily. They will develop like a healthy plant taking root in good soil. We will cover the most fundamental techniques today. You will learn to hold your tools comfortably. You will discover the joy of creating strong, neat seams. Let us begin this creative journey together.
Preparing the Soil: Gathering Your Essential Tools
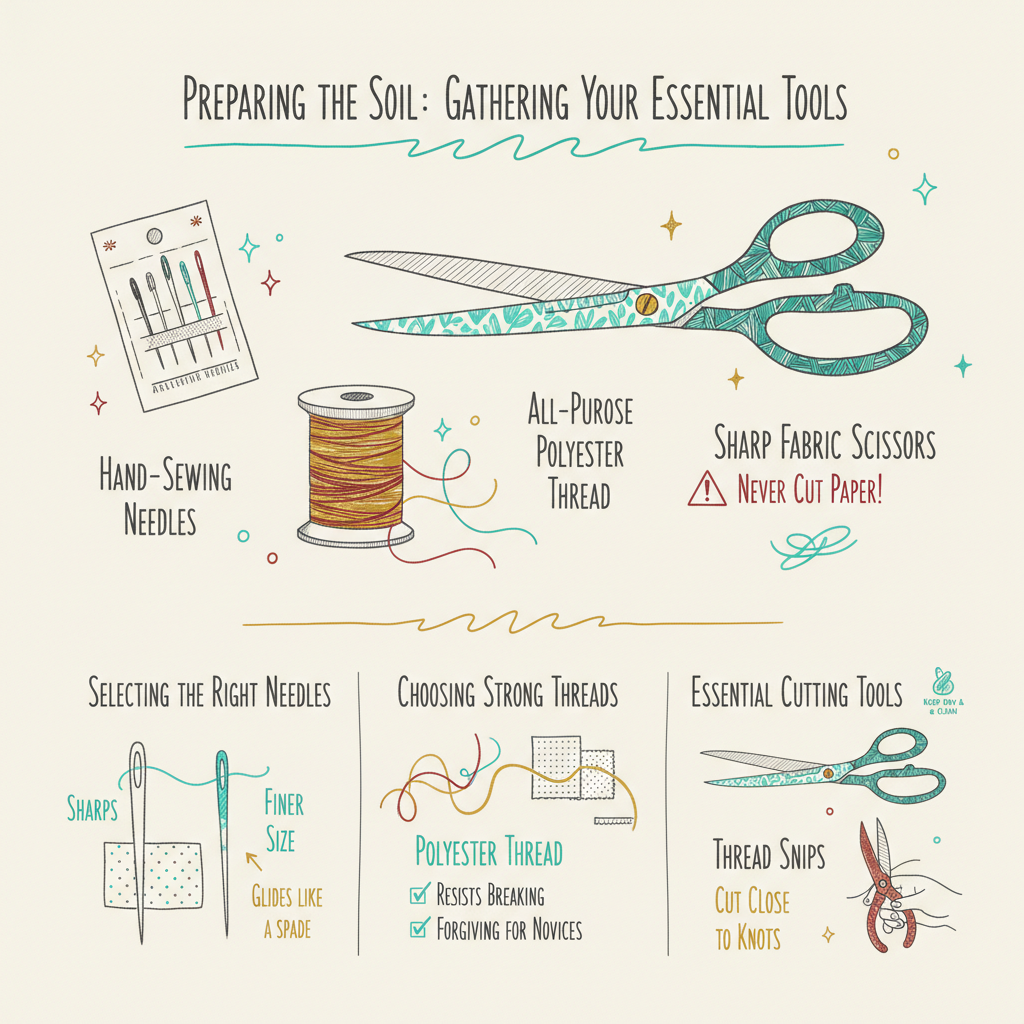
Gathering your materials is an important first step. You are preparing the soil for your creative garden. The right tools make your time productive and joyful. You do not need a massive kit. A few high-quality basics will serve you beautifully. Start with a packet of assorted hand-sewing needles. Different fabrics require different needle sizes. You also need a pair of sharp fabric scissors. Never use your fabric scissors to cut paper. Paper blunts the delicate blades very quickly. Finally, select a spool of strong, all-purpose polyester thread. This thread provides excellent durability for early projects.
Selecting the Right Needles
Needles come in various lengths and thicknesses. A standard “sharps” needle is perfect for most woven cottons. It features a sharp point and a round eye. If your needle struggles to pierce the fabric, choose a finer size. A needle should glide through the material like a spade slicing into soft earth.
Choosing Strong Threads
Thread is the vine that binds your fabric together. Choose a colour that matches your material closely. Polyester thread resists breaking and tangling. It is incredibly forgiving for novices. We often explore thread choices in our adult workshops. Quality thread ensures your stitches remain secure over years of wear.
Essential Cutting Tools
Sharp scissors are absolutely vital. Dull scissors chew the fabric and fray the edges. Invest in a small pair of thread snips. They allow you to cut close to your knots cleanly. Treat your cutting tools with respect. They are the most important instruments in your creative toolkit. Keep them dry and clean.
The Basics: how do you sew with a needle and thread
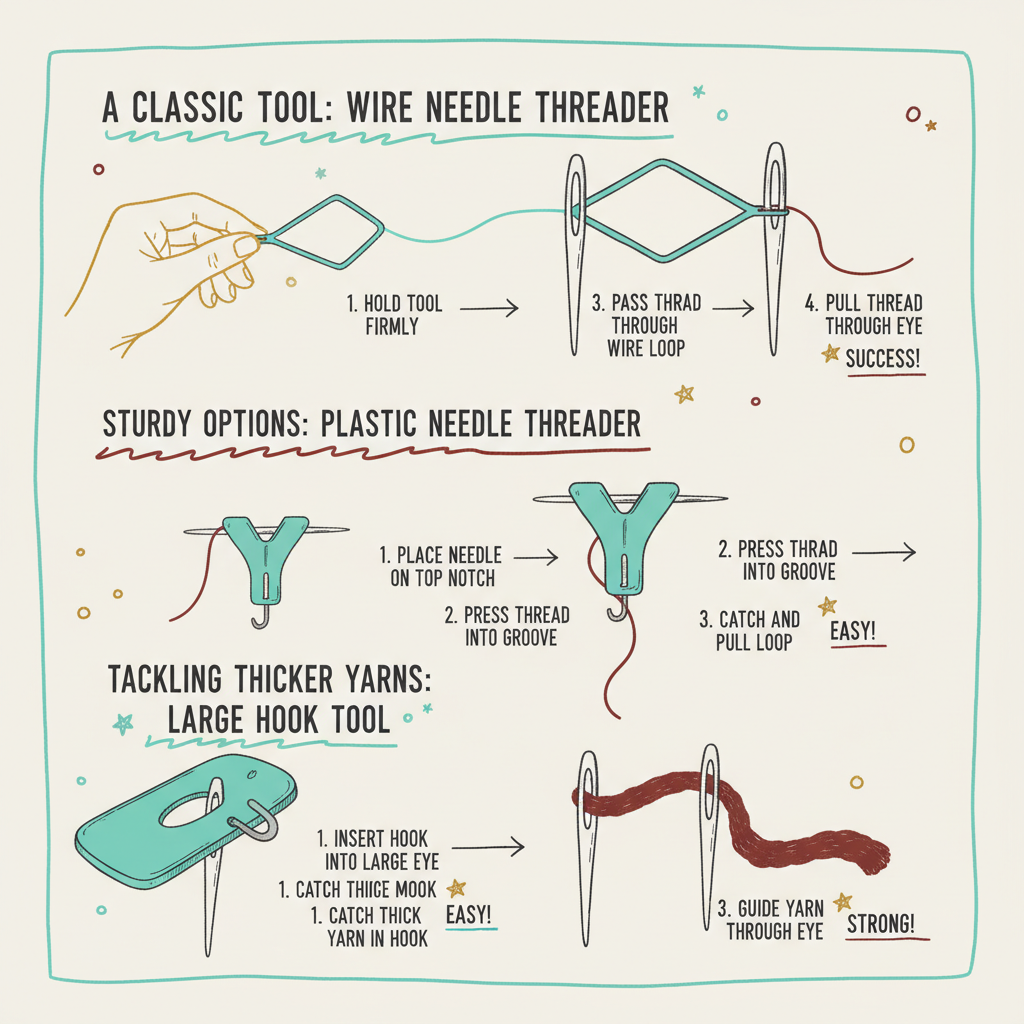
Many students ask exactly how do you sew with a needle and thread. The process requires a gentle touch. You must first thread your needle correctly. Cut a length of thread roughly the distance from your fingers to your elbow. A longer thread tangles easily. A shorter thread requires constant replacing. Moisten the tip of the thread slightly. Flatten the end between your thumb and forefinger. Push the flattened tip cleanly through the eye of the needle. Pull about a third of the thread through the eye. You are now ready to secure the opposite end.
Securing the Starting Knot
A strong knot anchors your work safely. Wrap the long end of the thread around your index finger once. Roll the loop off your finger using your thumb. Pull the resulting tangle tight to form a neat knot. This knot sits like a firm root against the back of your fabric. It prevents the thread from pulling straight through.
Holding Your Fabric Naturally
Hold your fabric gently in your non-dominant hand. Do not grip it too tightly. Your hands should feel relaxed. Tension in your hands transfers directly into your stitches. Let the fabric drape naturally over your fingers. This allows the needle to pass smoothly through the woven fibres without resistance.
Guiding the Needle
Push the tip of the needle through the fabric from the back. Pull the thread all the way through until the knot catches. You have successfully planted your first stitch. You can find more visual demonstrations in our creative resources. Take your time and breathe steadily. Hand sewing lowers the heart rate and blood pressure. It is highly relaxing. Enjoy the quiet, rhythmic sound of the thread moving through the cloth.
Our Unique Insight: The Secret Symmetry of Fabric and Thread
We believe that handcrafting is a conversation with your materials. You must listen to the fabric. Every material behaves differently. Denim is stubborn and thick. Silk is slippery and delicate. Cotton is crisp and compliant. Cultivating an intuitive feel for textiles changes everything. Do not force the needle. If the needle struggles, you might be hitting a thick seam. Adjust your angle slightly. Let your fingers guide the fabric without stretching it. When you work with the fabric’s natural grain, your stitches sit beautifully and grow strong over time.
Feeling the Grainline
Woven fabric has a distinct grain. The threads run vertically and horizontally. Try to stitch in line with these threads whenever possible. Stitching against the grain can cause the fabric to warp. Run your fingers over the material to find its natural path. Working with the grain ensures a smooth finish.
Listening to the Tension
Tension is crucial in this process. If your fabric puckers, you are pulling the thread too hard. If your stitches look loose, you are not pulling hard enough. Aim for a gentle, firm tension. The thread should lie perfectly flat against the surface. It should feel smooth under your fingertips.
Cultivating Patience
Mistakes will happen during your journey. Knots will form unexpectedly. Do not feel discouraged. Every tangled thread teaches you something valuable. Unpick the mistake gently and start again. This patience forms the deepest root of your creative practice. It builds resilience and a calmer mind over time.
Techniques Unlocked: how to stitch with a needle and thread
Learning how to stitch with a needle and thread unlocks immense creative potential. We will explore three essential stitches. These stitches form the trunk of your sewing tree. They support almost every project you will ever attempt. Master these, and you can create almost anything. The running stitch is your basic joining tool. The backstitch provides incredible structural strength. The slip stitch finishes hems beautifully. Practice these stitches on a scrap of soft cotton. Calico is an excellent practice fabric for beginners.
Mastering the Running Stitch
The running stitch weaves in and out of the fabric in a straight line. Push the needle down through the fabric. Bring it back up about a quarter of an inch away. Repeat this motion smoothly. This stitch resembles a dashed line. It is perfect for gathering fabric gently.
Securing the Backstitch
The backstitch is the strongest hand stitch available. Bring your needle up through the fabric. Push it back down slightly behind where it just emerged. Bring it up again ahead of the first stitch. You are constantly stepping backward to move forward. This creates a solid, unbroken line of thread.
Perfecting the Slip Stitch
The slip stitch is used when you want your work to disappear. It is perfect for finishing hems or closing openings. Fold the edges of your fabric inward and press them. Slip your needle inside the folded edge, take a tiny stitch in the opposite edge, and go back and forth.
Simple Fixes: how to sew a hole with needle and thread
Clothing often suffers small tears during daily life. Knowing how to sew a hole with needle and thread extends the lifespan of your wardrobe. Mending is an act of care. It restores vitality to your favourite garments. You can fix most small holes in just a few minutes. First, trim away any loose, frayed threads around the hole. You need clean edges to work with. Choose a thread colour that blends seamlessly with the garment. Turn the garment inside out before you begin. You always want your knots hidden.
Assessing the Damage
Examine the hole carefully. Is it a clean tear along a seam? Is it a worn patch in the middle of the fabric? A split seam simply requires a strong backstitch to close it. A wider tear needs more delicate handling to avoid puckering. Assess the fabric strength around the damaged area.
Preparing the Edges
Bring the two torn edges together gently and line them up evenly. Pin them in place if necessary. You want the fabric to sit flat. Do not pull the edges too tightly. Puckered fabric ruins the drape of the garment. Let the fabric relax completely before starting your repair.
Executing the Repair
Begin your stitching slightly before the tear starts. Loop each stitch over the edges of the fabric you are pressing together. Pull the thread tight enough to secure the gap. Continue sewing until you reach the opposite end of the tear. Reverse your direction and sew back to your starting point. Sewing the torn area twice prevents the fabric from pulling apart again. Tie a neat knot so your stitches do not unravel. We teach these mending skills thoroughly in our introductory sessions.
Creative Harvest: what can you make with a needle and thread
You might wonder exactly what can you make with a needle and thread. The possibilities are truly endless. You do not need a machine to craft beautiful, functional items. Small projects yield quick, satisfying results. They keep your motivation blossoming. Start with simple shapes and straight lines. Soft furnishings are wonderfully forgiving. You can construct beautiful accessories with minimal materials. A simple drawstring bag is a great project. Fold a rectangle of fabric, sew the sides with a backstitch, and create a casing at the top with a running stitch.
Crafting Scented Sachets
Cut two small squares of cotton fabric. Place them right sides together. Use a running stitch around three sides. Turn the fabric right side out. Fill the pouch with dried lavender. Fold the remaining raw edges inside. Slip stitch the opening closed neatly. These make wonderful gifts for friends and family.
Creating Fabric Bookmarks
Layer two long rectangles of heavy canvas. Backstitch around the entire perimeter. Leave the edges raw to fray naturally over time. These small creations act like bursts of warm sunlight for your confidence. They prove that you can create beautiful things with your own hands quickly.
Designing Simple Pincushions
Every aspiring tailor needs a reliable pincushion. Cut two circles of sturdy fabric. Stitch them together, leaving a small gap. Turn the shape inside out. Stuff it firmly with cotton scraps. Close the gap securely with a neat slip stitch. You now have a custom home for your pins.
A First Project: how to sew apron with needle and thread for beginners
You might eventually wonder how to sew apron with needle and thread for beginners. An apron is a fantastic introductory garment. It consists entirely of straight lines and simple hems. It requires no complex fitting or fastenings. You will need a sturdy fabric like linen or medium-weight cotton. You will also need coordinating thread and some cotton webbing for the straps. Wash and iron your fabric before you begin. Pre-shrinking your materials prevents future disappointment. Good preparation is like watering the soil before planting seeds.
Gathering Your Materials
Cut a large rectangle for the main body of the apron. Cut a smaller rectangle for a front pocket if desired. Iron crisp folds into the edges. Pressing your fabric makes stitching much easier. It ensures your seams lie perfectly flat as you work.
Pinning the Hems
Fold the raw edges over twice to hide the fraying threads completely. Pin the folds securely in place. Use a neat backstitch to secure these hems all the way around the apron. Take your time with the corners. Neat corners showcase your growing attention to detail.
Stitching the Straps
Cut your cotton webbing to the desired length for the neck and waist ties. Pin them to the top and sides of the apron body. Stitch them in place using a strong square shape with an ‘X’ inside it. This technique provides maximum durability for daily use in your kitchen.
Actionable Strategy: Cultivating Your Daily Stitching Habit
Consistency is the secret to mastering any craft. We encourage students to build a small, daily habit. You do not need hours of free time. Ten minutes of focused practice yields incredible results over a month. Treat your practice like watering a beloved houseplant. It requires regular, gentle attention. Set up a comfortable environment. Keep your tools easily accessible. Remove any barriers that stop you from picking up your needle. Create a small sewing basket. Keep your needles, thread, and scissors in one place. Store a few scraps of practice fabric inside.
Setting Up a Dedicated Space
When your tools are ready, you can start stitching immediately. You can find more local community support through our north london studio. Keeping your materials visible encourages you to practice. A dedicated basket signals to your brain that it is time to create.
Committing to Ten Minutes a Day
Sit down with your practice fabric for just ten minutes daily. Try stitching a straight line of backstitches. Try making ten perfect knots. These small sessions build your muscle memory rapidly. Your hands will soon know exactly what to do without overthinking.
Tracking Your Progress
Keep your first piece of practice fabric. Look at it again after a month of daily practice. You will see a dramatic improvement in your stitch regularity and tension. Celebrating these victories keeps your spirit thriving. It reminds you how far your skills have blossomed.
Frequently Asked Questions (FAQ)
What is the best thread for starting out?
When you first begin your stitching journey, choose a high-quality, all-purpose polyester thread. This type of thread offers excellent strength and resists tangling beautifully. Cotton thread is lovely for natural fabrics, but polyester provides more flexibility as your skills take root. Avoid cheap, brittle threads that snap easily and cause frustration. Investing in good thread ensures your early projects flourish without unnecessary stress.
How do I stop my thread from tangling?
You can prevent tangling by keeping your thread length short. Cut a piece no longer than the distance from your fingertips to your elbow. Running your thread gently over a block of beeswax also helps smooth the fibres. This natural coating prevents knots from forming as you pull the needle through the fabric. Treat your materials gently, and they will cooperate beautifully as you work.
Is hand sewing better than using a machine?
Hand sewing offers a completely different, deeply tactile experience. It allows you to feel the fabric and understand garment construction organically. It provides a level of intimacy and control that machines simply cannot match. Hand stitching is quiet, portable, and excellent for delicate fabrics. Many experienced tailors still rely on hand stitches for bespoke details. Both methods are highly valuable in your creative toolkit.
Conclusion
Learning to sew by hand is a truly empowering experience. It connects you to a rich history of textile artistry. By understanding how the thread interacts with the fabric, you unlock the ability to mend, create, and transform your wardrobe. Remember that every master tailor began exactly where you are today. They started with a single needle, a spool of thread, and a willingness to try. Be patient with your progress. Allow your skills the time they need to take root and flourish. Celebrate your neat knots and your strong seams. If you ever feel stuck, do not hesitate to get in touch. Keep practising, keep exploring, and enjoy the peaceful rhythm of your needle. The fruits of your labour will bring you joy for years to come.
About the Author
Grace Barrett is a dedicated tutor and textile enthusiast at London Sewing Courses. She believes that learning a new skill should be a calm, joyful experience accessible to everyone. With years of experience guiding newcomers, Grace uses simple, nature-inspired analogies to break down complex techniques. Her plain, humble approach builds lasting creative confidence in her students. She loves helping people discover the immense satisfaction of repairing and creating their own garments by hand. If you would like to know more about her background, you can meet your tutor on our main website.
Sources
Five Most Important Basic Hand Sewing Stitches For Beginners
Hand Sewing Techniques: Tools, Basic Stitches & More
13 Benefits of Hand Sewing
Benefits Of Hand Sewing
How to Hand-Sew a Hole in Sweatpants
6 Basic Hand Sewing Stitches for Beginners
19 Essential Hand Sewing Stitches You Need to Know
The Mental Health Benefits of Hand Sewing