Introduction
Welcome, fellow creative spirits! Have you ever looked at a beautiful garment, a cozy quilt, or a stylish tote bag and thought, “I wish I could make that”? Or perhaps you have a treasured piece of clothing that needs a little mending, and you dream of giving it a new lease of life with your own hands? You’re certainly not alone. The world of sewing is experiencing a wonderful resurgence, attracting adults from all walks of life who are eager to learn a timeless, rewarding skill. This comprehensive guide is designed to help you navigate the exciting landscape of sewing classes near me for adults here in the UK, ensuring you find the perfect fit for your aspirations and lifestyle.
Whether you’re an absolute novice who’s never threaded a needle or an experienced crafter looking to hone highly specific techniques, there’s a class, workshop, or private sewing lesson for adults out there for you. We’ll delve into the various types of sewing classes for adults near me, explore how to find local options and fantastic online sewing classes for adults, discuss cost considerations, and highlight the thriving community connections that make sewing such a delightful pursuit. Our aim is to demystify the process of finding your ideal sewing class near me for adults and set you on a path to creative confidence. Get ready to transform fabric into masterpieces and embrace the immense satisfaction of creating with your own hands!
Why Adults are Embracing Sewing
In a fast-paced world, the act of sewing offers a unique blend of practical benefits and profound personal enrichment. It’s more than just a hobby; it’s a journey of discovery, sustainability, and self-expression. Many adults are finding that learning to sew provides a much-needed antidote to modern life, offering a tangible sense of accomplishment that digital pursuits often lack. If you’re wondering why so many are seeking out sewing classes near me for adults, consider these compelling reasons:
Practical Benefits: Mending, Alterations, and Custom Creations
At its core, sewing is an incredibly practical skill. Imagine being able to effortlessly mend a torn seam on your favourite jeans, or adjust the hem of a dress to fit you perfectly. These small acts not only save money but also contribute to a more sustainable wardrobe. Beyond repairs, learning to sew opens up a world of customisation. You can transform ill-fitting high-street garments into bespoke pieces that flatter your unique shape, or even create entirely new clothing items from scratch. Studios like School of Couture highlight that in their open sewing classes, you can literally sew anything you’d like, from a tote bag to a lined skirt or a quilt. This demonstrates the vast practical application of sewing skills. Once you master the basics, you can apply your knowledge to home décor projects, crafting beautiful cushions, curtains, or even upholstery items. The ability to create exactly what you need, tailored to your specifications, is an empowering and cost-effective advantage that draws many to sewing classes near me for adults.
Creative Outlet: Expressing Individuality Through Fabric
Sewing is a profound creative outlet, allowing you to bring your unique vision to life. From choosing the perfect fabric – be it a vibrant African print, a delicate lace, or a structured cotton poplin – to selecting a pattern and adding your personal touches, every step of the sewing process is an act of artistic expression. Unlike mass-produced items, your handmade creations will be truly one-of-a-kind, reflecting your personality and style. This deep sense of individuality and the joy of designing something unique is a major draw for individuals seeking sewing classes for adults near me. The Domestika “Sewing and Design Specialisation” course, for example, explores how fabric choices, colours, and patterns can shape design direction, drawing inspiration from various sources including African wax prints. This highlights how sewing moves beyond mere construction to become a vehicle for artistic fulfilment.
Mindfulness and Well-being: A Therapeutic Pursuit
In an age of constant digital stimulation, sewing offers a welcome opportunity to slow down, focus, and engage in a mindful activity. The rhythmic hum of the machine, the feel of fabric between your fingers, and the satisfaction of watching a project come together can be incredibly therapeutic. Many sewers report that the act of concentrating on stitches, patterns, and measurements helps to reduce stress and foster a sense of calm. The quiet concentration required for sewing can be a form of meditation, providing a valuable escape from daily pressures. As one customer of Miss Maker noted, it’s a “wonderfully therapeutic way to spend time”. This benefit extends to patience and problem-solving skills, as you learn to navigate challenges and find creative solutions during your projects. The sense of accomplishment upon completing a garment or craft also provides a significant boost to well-being.
Sustainability: Contributing to a Circular Economy
With growing awareness of fast fashion’s environmental impact, many adults are turning to sewing as a way to embrace sustainability. Learning to mend and alter clothing extends its lifespan, reducing waste sent to landfill. Upcycling old garments into new, fashionable items or repurposing fabrics for different projects are powerful ways to contribute to a circular economy. For instance, the Domestika course includes modules on sustainable sewing practices, encouraging the use of eco-friendly fabrics, repurposing scraps, and mending techniques like visible mending and patchwork. Teachers like Nicki from Switzerland, found on Apprentus, even specialise in sewing and upcycling for beginners, actively repurposing fabrics and seeking out forgotten treasures to bring back to life. This commitment to reducing fashion waste resonates deeply with those seeking an environmentally conscious hobby. and connecting with others through hashtags like #sewcialists.
Community Connection: A Shared Passion
Joining sewing classes for adults near me or connecting with online communities provides a wonderful opportunity to meet like-minded individuals who share your passion. These connections foster a supportive environment where you can exchange tips, solve problems together, and find inspiration. Many local studios cultivate a strong community feel, offering a welcoming space for social engagement. Miss Maker, based in North Hampshire, England, prides itself on a personal and patient approach to teaching, delivered in small class sizes, ensuring students feel “pampered as well as inspired”. Testimonials praise the friendly and helpful instructors, with students looking forward to booking more courses. Beyond formal classes, sewing clubs and meetups provide further avenues for networking and peer support. This shared interest can lead to lasting friendships and a vibrant social life centered around creativity.
Personal Growth: Developing Patience and Precision
Sewing is a craft that nurtures a variety of personal attributes. It requires patience, precision, and a keen eye for detail. As you progress from simple stitches to more complex garment construction, you’ll develop fine motor skills and problem-solving abilities. Every mistake becomes a learning opportunity, building resilience and determination. The process of taking measurements, cutting fabric accurately, and meticulously stitching pieces together hones your focus and discipline. The satisfaction of seeing a project through from concept to completion, especially when encountering and overcoming challenges, significantly boosts self-confidence. This journey of continuous learning and improvement makes sewing a deeply rewarding pursuit that contributes positively to overall personal growth.
Types of Sewing Classes Available for Adults
The world of sewing classes for adults is incredibly diverse, offering something for every skill level and interest. Whether you’re just starting your creative journey or looking to master a very specific technique, you’ll find structured courses, flexible workshops, and dedicated studios ready to welcome you.
Beginner Sewing Classes Near Me for Adults
For those taking their very first stitches, beginner sewing classes near me for adults are the ideal starting point. These classes are specifically designed to introduce you to the fundamentals in a supportive and often intimate environment, alleviating any apprehension you might have about working with a machine.
Curriculum for Beginners
A typical curriculum for beginner sewing classes near me for adults will focus on building a solid foundation of essential skills:
- Introduction to the Sewing Machine: This is often the first step, and rightly so. You’ll learn the anatomy of a sewing machine, understanding its various parts, how to thread it correctly (a skill that often feels like magic at first!), winding the bobbin, and navigating basic stitches like straight and zigzag. Safety is always paramount, and good instructors will ensure you’re comfortable and confident with the machine’s operation before moving on. In Stitches Sewing & Design Studio explicitly states that your first class will teach you “how to use a sewing machine inside and out”. Similarly, Sew Crafty Studio offers “MACHINE SEWING | BASICS” classes designed for students to learn machine-sewing basics.
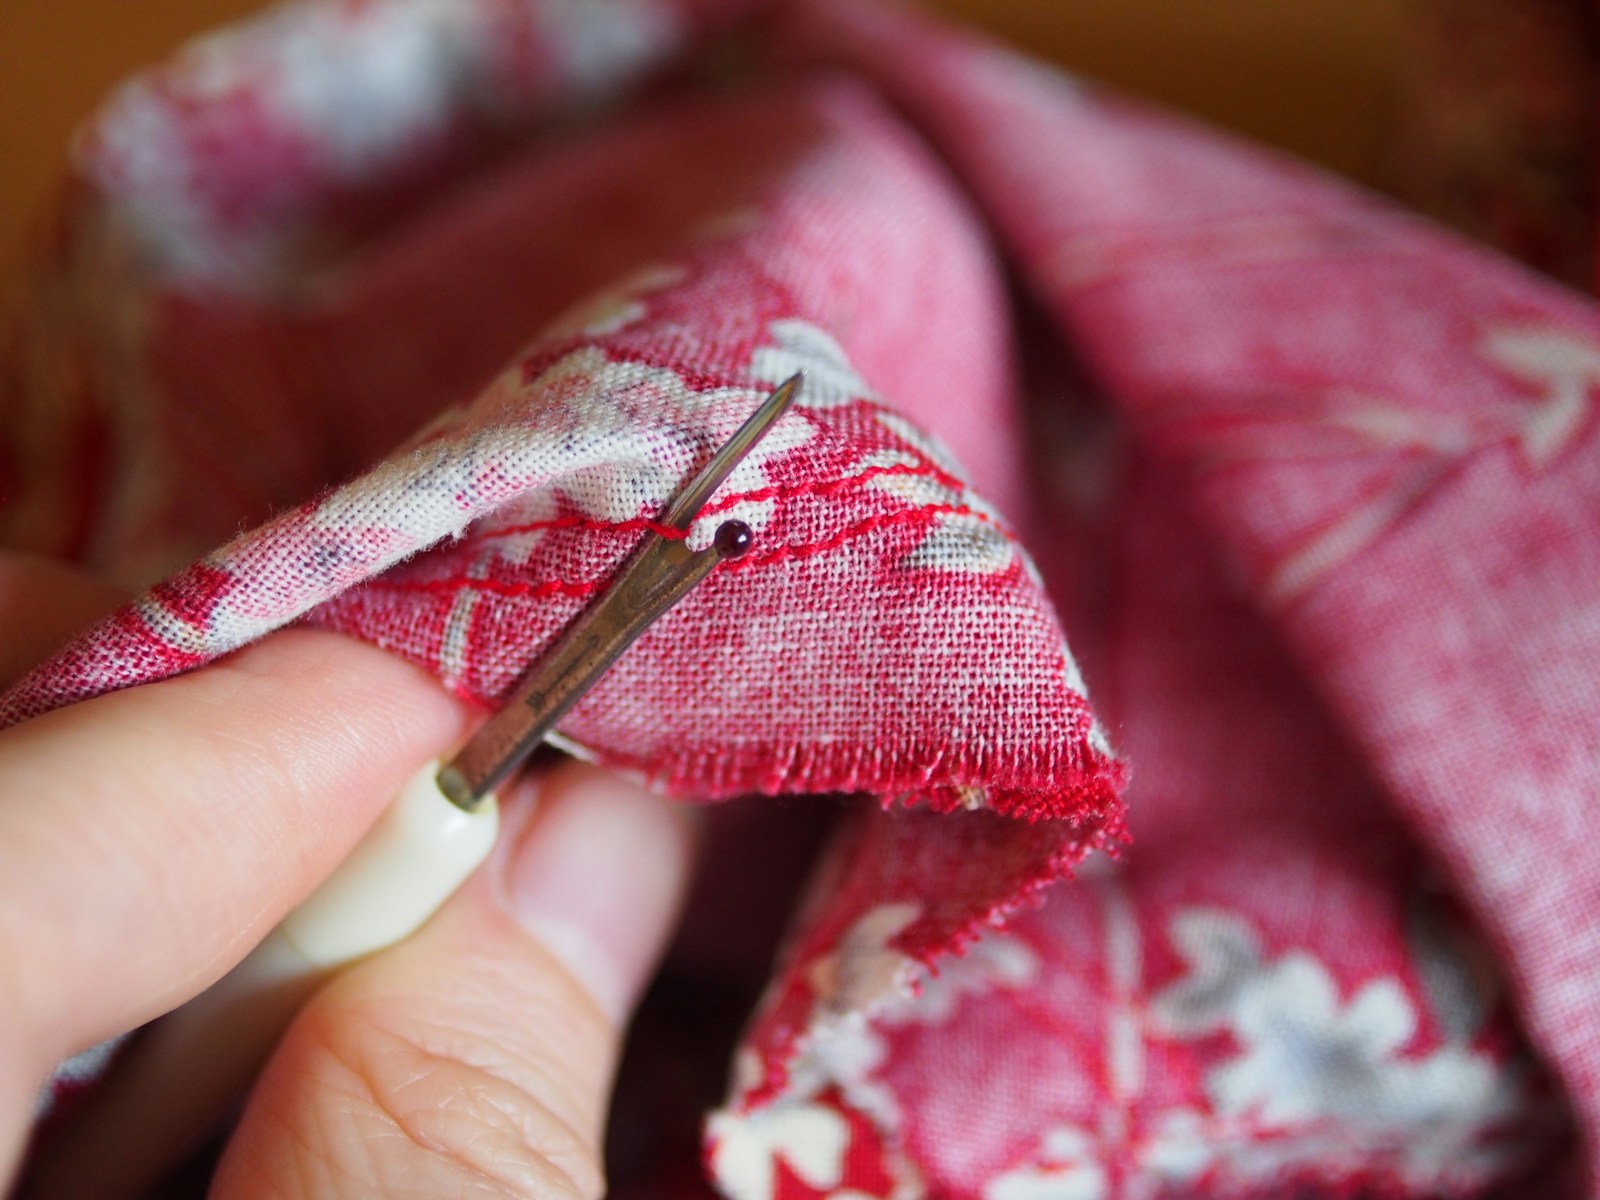
- Essential Hand Stitches: While machines do most of the heavy lifting, hand stitches remain crucial for finishing, mending, and delicate details. You’ll typically learn running stitch, backstitch, slip stitch, and various hemming techniques. These basic hand skills are invaluable for achieving a professional finish or making quick repairs.
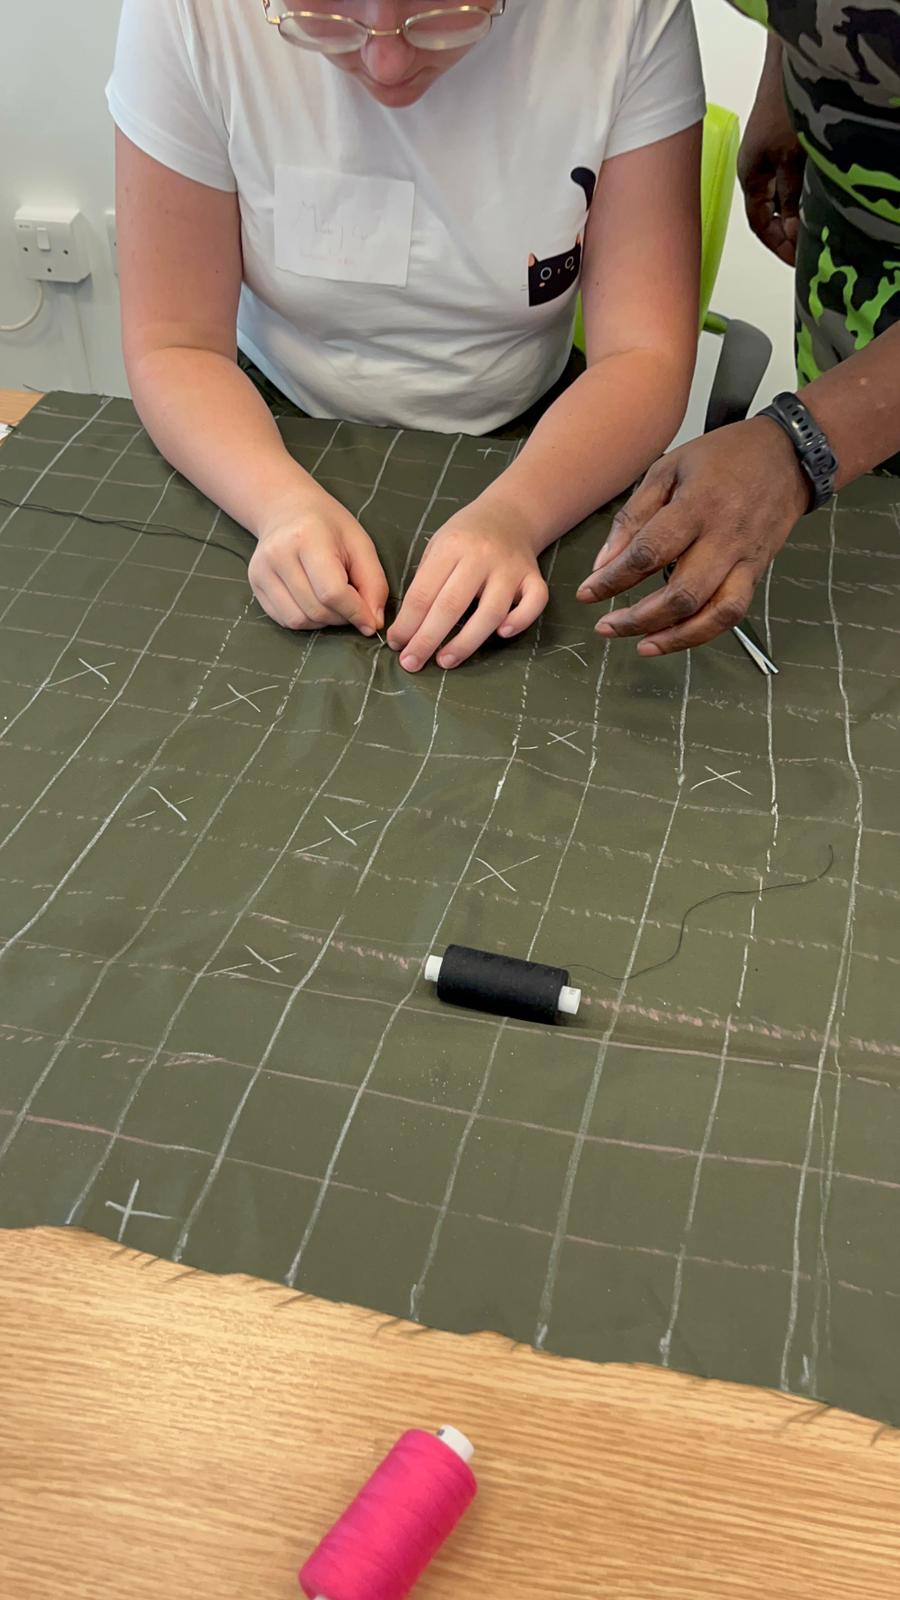
- Fabric Basics: Understanding different fabric types – woven versus knit, for example – is fundamental. You’ll learn about grainlines, how they affect drape and stretch, and how to prepare your fabric (pre-washing and ironing) before cutting to prevent shrinking or distortion later. The Domestika “Fabrics” module covers selecting, preparing, and cutting fabric, including minor fit adjustments and understanding how different fabrics transform a project’s look and feel.
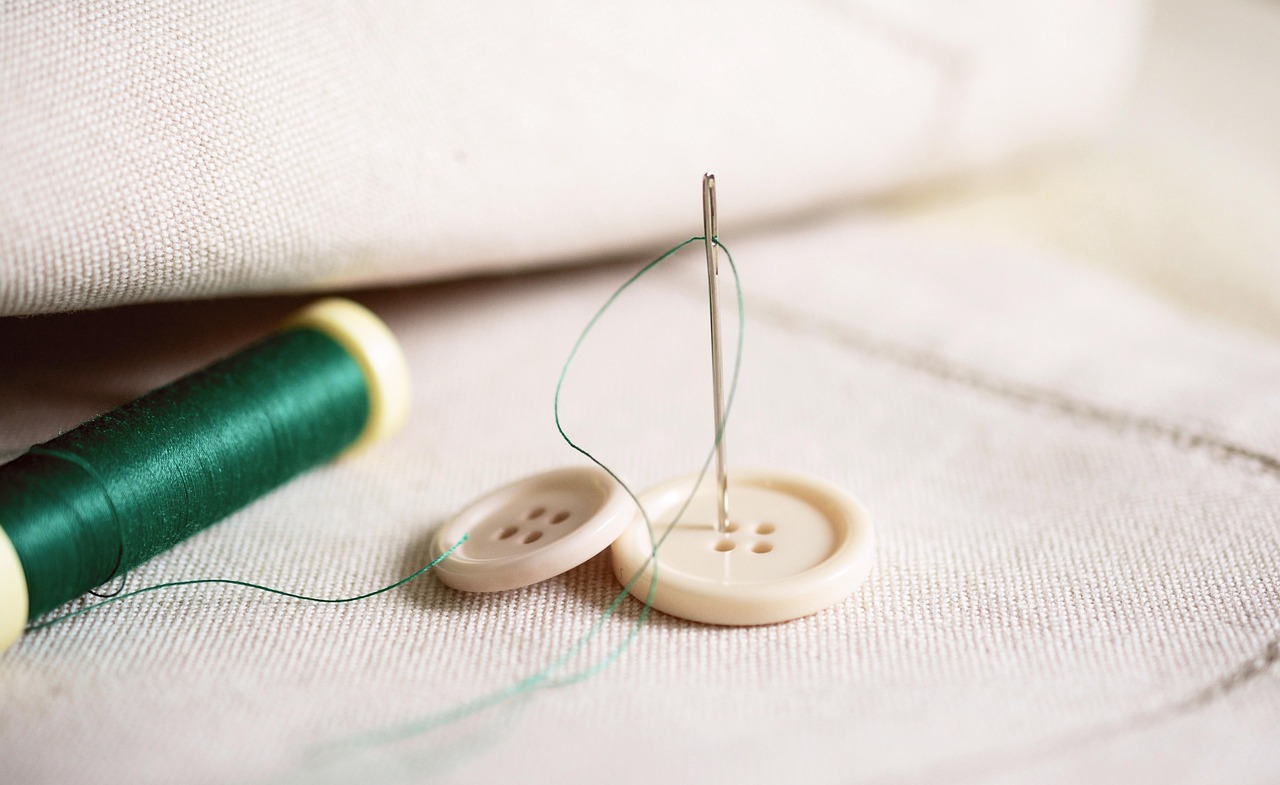
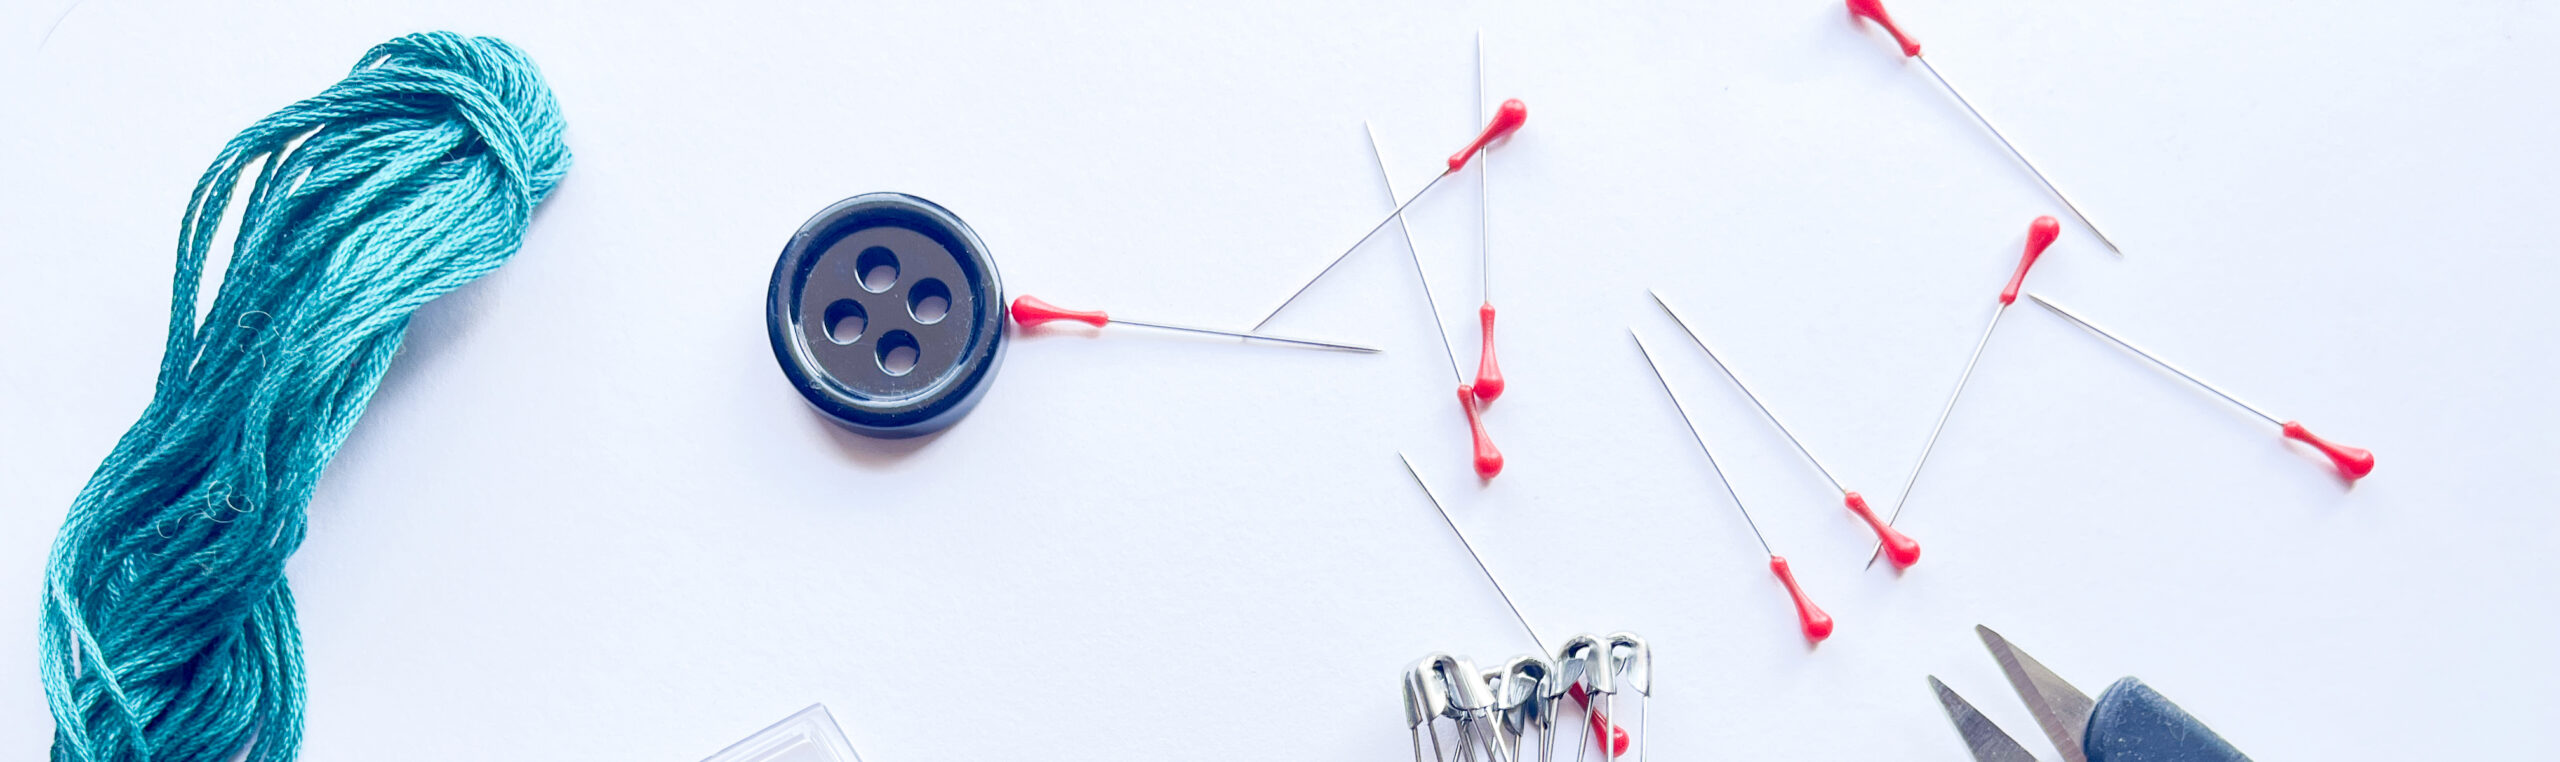
- Basic Tools & Notions: You’ll be introduced to the essential toolkit of a sewer: needles (for machine and hand), pins, quality thread, sharp scissors, and various measuring tools like tape measures and rulers. Some classes, like those at School of Couture, include all fabric and supplies in the cost, making it easier to get started without immediate investment in materials.
- Simple Project Focus: Beginner sewing classes near me for adults often culminate in a straightforward, satisfying project that allows you to apply your newly acquired skills immediately. Common examples include a pincushion, a reversible tote bag, a cushion cover, or a simple skirt or top. This project-based approach helps solidify learning and provides a tangible sense of achievement. For example, your first class at “In Stitches” focuses on starting and finishing a reversible tote bag, with everything provided for that initial session. Teachers on platforms like Apprentus, such as Rose from the Netherlands, also offer beginner classes focused on practical projects like masks, skirts, or bags.
What to Expect
You can expect beginner sewing classes near me for adults to feature small class sizes, ensuring ample hands-on practice and personalised, guided instruction. This allows the tutor to offer immediate feedback and assistance, crucial for overcoming initial hurdles. Miss Maker, based in North Hampshire, England, limits classes to six participants to ensure everyone gets the space and attention they need. The atmosphere is generally friendly and encouraging, designed to build your confidence. You’ll be guided patiently, like Annabel from Islington, UK, who offers beginner and improver lessons and is described as an “experienced and patient tutor”.
How to Identify “Beginner-Friendly”
Look for classes that explicitly state “beginner,” “absolute beginner,” or “no prerequisites needed”. Some may refer to themselves as “Sewing Machine 101” or “Intro to Sew,” as seen with SewinAsylum.com. Always check the course description to ensure it aligns with your level of experience. If it mentions specific foundational techniques you don’t yet possess, it might be an advanced beginner or intermediate class.
Search Strategies for Beginners
To find beginner sewing classes near me for adults, a direct approach is best. Use search terms like “beginner sewing classes near me for adults,” “sewing classes near me for beginners for adults,” or “sewing classes near me for adults for beginners.” You might also try “beginning sewing classes near me for adults” or “adult sewing classes near me for beginners” to broaden your results. Checking local community centre listings, adult education programmes, and independent sewing studios’ websites will yield the most relevant options.
Advanced Sewing Classes Near Me for Adults
Once you’ve mastered the foundational skills, the world of advanced sewing classes near me awaits. These courses are designed for individuals who are comfortable with their sewing machine and basic construction, ready to tackle more complex projects and refine their techniques.
Moving Beyond the Basics
Advanced sewing classes near me presume a certain level of proficiency. They won’t spend much time on basic threading or straight stitches. Instead, they focus on building upon your existing knowledge to introduce more intricate methods and challenges. The School of Couture offers three different levels: beginner, intermediate, and advanced, allowing continuing students to further their skills with more complex projects.
Specialised Techniques Covered
The curriculum for advanced sewing classes near me can be extensive, covering a wide range of sophisticated techniques:
- Garment Construction: This is a major focus, moving beyond simple elasticated skirts to intricate details. You’ll learn how to insert various types of zippers (invisible, lapped, fly fronts), create professional buttonholes (including bound buttonholes for an elevated finish), construct collars, cuffs, and set-in sleeves, and effectively line garments for a clean, professional interior finish. Domestika’s “Sewing and Design Specialisation” covers inserting concealed zippers, sewing collars and cuffs when making dresses, and even constructing trousers with detailed fly fronts and waistbands.
- Fitting and Alterations: A crucial skill for creating truly custom garments. You’ll learn to identify common fit issues (e.g., gaping necklines, pulling seams), understand how to make pattern adjustments for different body types, and how to customise commercial patterns to achieve a perfect, flattering fit. School of Couture offers a dedicated “Fitting and Alterations” class where you learn to “read” a fit muslin and transfer changes back to the pattern for a custom-fit garment.
- Working with Challenging Fabrics: Moving beyond cotton and linen, advanced sewing classes near me will often introduce you to silks, various knits (stretch fabrics), leather, denim, and other delicate or difficult-to-handle materials. This involves understanding their unique properties, appropriate needles, and special sewing techniques.
- Tailoring Techniques: For those interested in structured garments like jackets and coats, tailoring classes delve into techniques like pad stitching, using canvas interfacing for shape, and specific pressing techniques to achieve crisp, professional lines.
- Couture Sewing: At the highest level, couture classes teach intricate hand finishing, exquisite details, and bespoke methods typically associated with high fashion.
Project Examples
Projects in advanced sewing classes near me are significantly more complex and time-consuming, reflecting the skills being taught. They might include tailored jackets, trousers, complex dresses with multiple design elements, lingerie, or even historical costumes. The Domestika course, categorised as “Beginner” level but with extensive content that covers advanced skills, includes detailed modules on sewing dresses, peplum tops, trousers, and even backpacks, covering aspects like tailored pieces and welt pockets.
Identifying Advanced Classes
Look for classes that list prerequisites, detail specific, complex techniques in their course outlines, or even require a portfolio of previous work. They might be labelled “Intermediate,” “Advanced,” or “Masterclass.” For example, the Domestika course is described as elevating “sewing skills to an expert level”.
Search Terms for Advanced Learning
When searching, use terms such as “advanced sewing classes near me.” If you have a specific interest, combine it, e.g., “couture sewing classes UK” or “tailoring workshops London.”
Sewing Machine Classes Near Me for Adults
Many adults own a sewing machine but feel intimidated by it, or only use its most basic functions. Sewing machine classes near me for adults are specifically designed to help you master your machine, unlocking its full potential and making your sewing journey far more efficient and enjoyable.
Focus: Mastering Your Sewing Machine
These classes aren’t necessarily about making a specific project (though they might include small exercises); their primary goal is to build your confidence and proficiency with the machine itself, regardless of your overall sewing skill level. From beginner sewing machine classes near me for adults to sessions for experienced users, the emphasis is on mechanical mastery. SewinAsylum.com offers a “Sewing Machine 101 Intro to Sew” class, highlighting this dedicated focus.
Topics Covered
- Basic Operation: Beyond initial threading, you’ll learn advanced threading techniques, precise tension adjustment for different fabrics and threads, proper bobbin care, and understanding how stitch length and width impact your results.
- Machine Maintenance: Regular cleaning and oiling are essential for your machine’s longevity and smooth operation. These classes will teach you how to change needles correctly, troubleshoot common issues like skipped stitches or tangled threads, and understand when your machine might need professional servicing. The Domestika course includes a full module on the sewing machine, covering common issues and how to take care of your machine, including cleaning out dust and oiling essential parts.
- Specialised Feet: Modern sewing machines come with a variety of presser feet, each designed for a specific task. You’ll learn to use the zipper foot for neat zipper insertions, the buttonhole foot for perfect buttonholes, the overcasting foot for finishing raw edges, the walking foot for quilting or working with tricky fabrics, and various quilting feet for specific designs.
- Decorative Stitches: Many machines have a range of built-in decorative stitches. You’ll learn how to explore and utilise these, experimenting with customisation to add unique flair to your projects.
- Attachments and Accessories: Understanding and using other machine attachments, such as twin needles, gathering feet, or rufflers, can significantly expand your sewing capabilities.
Serger/Overlocker Classes
For those looking to achieve professional-looking seams, especially on knit fabrics, dedicated serger or overlocker classes are invaluable. These cover introducing you to serging, intricate threading (which can be notoriously tricky!), adjusting differential feed for different fabrics, and creating neat rolled hems. SewinAsylum.com offers an “Adult Serger Class”, and Sew Crafty Studio uses Brother® sergers in their studio, suggesting they offer instruction on them. The Colette Media online platform also has a paid “Ready, Set, Serge” mini-class, demonstrating the popularity of this specialised skill.
Search Terms for Machine Mastery
Use phrases like “sewing machine classes near me for adults” or, for beginners, “sewing machine classes near me for beginners for adults”.
Benefits: Overcoming Machine Fear and Unlocking Potential
Many people feel intimidated by the complexity of a sewing machine. These classes help demystify the mechanics, empowering you to confidently use your equipment. By understanding your machine inside and out, you’ll unlock its full potential, leading to more efficient, precise, and enjoyable sewing. It transforms the machine from a daunting device into your best creative ally.
Specialised Sewing Classes (Beyond General Garment Making)
Beyond general garment construction, the sewing world offers a wealth of specialised classes tailored to specific interests. If you have a particular project in mind or want to delve deep into a niche, these are the classes for you.
Quilting Classes
Quilting is a delightful art form that involves stitching together multiple layers of fabric to create intricate designs. Quilting classes will teach you patchwork (joining small pieces of fabric), appliqué (attaching fabric shapes onto a background), machine quilting (using your sewing machine to create decorative stitches through all layers), hand quilting, and essential finishing techniques like binding. Surrey County Council offers dedicated “Quilting courses”, and SewinAsylum.com has a “Quilt Lab”, showing the demand for this popular craft. These classes often delve into colour theory, fabric selection for visual impact, and the precise cutting and piecing required for beautiful results. You’ll learn how to transform disparate fabric scraps into cohesive, artistic statements.
Upholstery Classes
If you dream of reviving old furniture or creating custom soft furnishings for your home, upholstery classes are a fantastic option. They cover basic furniture upholstery techniques, including how to strip down and rebuild a piece, cut and apply foam, and work with various upholstery fabrics. Cushion making is a common starting point, teaching you about different filling types, zips, and piping. Miss Maker, for instance, offers upholstery workshops, demonstrating the availability of this specialised skill. These classes can be incredibly hands-on and require specific tools, often provided by the studio.
Bag Making Classes
For those who love accessories, bag making classes teach you how to construct various styles of bags, from simple totes to complex handbags with multiple pockets and closures. You’ll learn about working with hardware (zippers, buckles, D-rings), different types of interfacing for structure, and techniques for creating durable seams and linings. Luisa Hurtado, one of the teachers on the Domestika specialisation, guides students through creating a unique backpack from old jeans, focusing on durable construction and lining techniques. This is an excellent way to combine practicality with personal style.
Embroidery Classes
Embroidery, whether by hand or machine, adds beautiful decorative elements to fabric.
- Hand Embroidery: These classes explore a wide array of stitches (e.g., running stitch, backstitch, satin stitch, French knots) and design transfer methods. You’ll learn to create stunning pieces for garments, home decor, or framed art. Surrey County Council offers “Embroidery and needlework” courses focused on hand embroidery, quality stitching, and designing your own works.
- Machine Embroidery: More advanced machine embroidery classes cover digitising designs, hooping techniques, and using your machine’s embroidery functions to create intricate patterns quickly and precisely. Amanda McCavour, another Domestika instructor, guides students through free-motion embroidery, setting up the machine, and practising stitches to create fluid designs and add depth with layered colours.
Craft Sewing
This broad category encompasses a wide range of creative projects beyond traditional garments or quilts. This can include doll making, toy making, creating soft furnishings, or various homeware items. The School of Couture offers an “Open Sewing Class” where you can make “your first rag doll”, showcasing the breadth of craft sewing. These classes often focus on specific, fun projects that allow for artistic expression without the complexities of garment fitting.
Mending and Upcycling Workshops
Emphasising sustainability, these workshops teach valuable skills for extending the life of your existing wardrobe. Visible mending techniques turn repairs into decorative features, while upcycling workshops guide you in transforming old or ill-fitting garments into something entirely new. Sophie from Italy, found on Apprentus, offers a course on “Upcycling of a T-shirt” by changing details and giving it a new shape, demonstrating how to apply this knowledge to all kinds of garments. This is a fantastic way to be creative and environmentally conscious.
African Sewing Classes Near Me for Adults
For those interested in specific cultural or style focuses, some studios or individual tutors offer classes dedicated to particular traditions. While “African sewing classes near me for adults” might be a niche search, resources like the Domestika course draw inspiration from “African wax prints” and have instructors like Chinelo Bally who reveal how “vibrant African prints and bold designer details shape his style”. This demonstrates that while a specific class may not exist locally with that exact title, you can find courses that incorporate these design elements or techniques. Seeking out tutors with a background in specific cultural sewing traditions, perhaps through private lessons, could also be a fruitful path for african sewing classes near me for adults.
Cost Options for Adult Sewing Classes
The cost of sewing classes for adults can vary widely depending on the type of class, its duration, the materials included, and whether it’s a group session or private sewing lessons for adults. Understanding these options will help you find a class that fits your budget.
Free Sewing Classes Near Me for Adults
Yes, it is possible to find free sewing classes near me for adults! While less common than paid options, they do exist, often supported by community initiatives or brand promotions.
Community-Led Initiatives
Many local councils, charities, or volunteer groups run community workshops that may include free or very low-cost sewing sessions. These are often focused on accessible skills and are designed to foster community engagement and equip individuals with practical life skills. Keep an eye on local community centre noticeboards and online listings. Surrey County Council, for example, runs adult learning courses that are often subsidised or offer fee support options, especially for library members or those over 66, although an explicit “free” class isn’t stated, the principle of community support is present.
Adult Education Programmes
Some areas offer free taster sessions or short courses for adults through their local adult education services. These might be funded by local government to encourage lifelong learning. Surrey County Council lists “Adult learning courses” including “Arts and crafts” which would encompass sewing. While they state a small charge for demonstration materials, it’s worth checking for specific free offerings or significant discounts.
Library Programmes
Many public libraries across the UK are becoming vibrant community hubs, frequently hosting free craft and sewing workshops. These are often one-off sessions focused on a simple project and require pre-booking due to popularity. They’re an excellent way to try out sewing without commitment.
Charity Shop Initiatives
Larger charity shops, particularly those with dedicated craft or haberdashery sections, sometimes run free workshops using donated materials. This promotes sustainability and community involvement. It’s worth asking at your local larger charity shops if they have any such programmes.
Brand-Sponsored Demos
Sewing machine brands or fabric stores occasionally offer free introductory sessions or demonstrations. For instance, SINGER® is “pleased to offer free classes for Singer sewing machine owners” in the US and Canada. While this specific example is not in the UK, it illustrates that such brand-sponsored opportunities exist and are worth looking out for within the UK. You usually need to bring your proof of purchase for your machine. These are perfect for getting to grips with a new machine or learning specific features.
How to Find Them
To find free sewing classes near me for adults, check local council websites, community centre listings, library events calendars, and local social media groups (e.g., Facebook groups for your town or neighbourhood). Use specific search terms like “free sewing classes near me for adults” or “free sewing classes near me for beginners for adults” to narrow your search. Be aware that these classes often fill up quickly due to high demand.
Affordable Sewing Classes for Adults
If entirely free options are scarce, many excellent affordable sewing classes for adults are available, offering great value for money.
Council-Funded Adult Learning
Local councils in the UK often provide heavily subsidised adult learning programmes. These can offer excellent value, with courses running over several weeks at a much lower cost than private studios. Surrey County Council’s adult learning courses are a prime example, running over periods of weeks in Autumn, Spring, and Summer, with enrolments opening well in advance. They also offer various discounts and fee support options, including money off for library members or those over 66. The quality of instruction in these programmes is often very high.
Independent Teachers/Small Studios
Independent teachers and smaller studios may offer competitive rates, especially for group classes. For example, In Stitches Sewing & Design Studio offers a 6-week block of classes (12 hours total) for $310.00. While this specific studio is US-based, it gives an idea of the pricing structure for block bookings. Sew Crafty Studio lists a “MACHINE SEWING | BASICS” class for $65.00 and a “MACHINE SEWING | SEWING CRASH COURSE | LEVEL 1” for $250.00. These smaller businesses often provide a more personal touch and can be very flexible.
Introductory Offers
Many studios provide discounted first-time classes or package deals to attract new students. It’s always worth checking a studio’s website or calling to inquire about any special offers for new participants. This is an excellent way to try out a studio’s teaching style and environment without a large initial investment.
Online Platforms with Subscriptions
Platforms like Domestika offer “Online Specialization Courses” where you pay a single fee for unlimited access forever. The “Sewing and Design Specialization” costs $37.00 for 11 modules and 83 lessons, which represents incredible value given the extensive content (over 15 hours of video lessons). Similarly, platforms like Colette Media offer various free mini-classes as well as paid options like “Hemming Knits” for $49 or “Ready, Set, Serge” for $69. These platforms provide access to a vast library of courses for a one-time purchase or a monthly/annual subscription fee, often making them more affordable in the long run than continuous in-person classes, especially if you plan to learn multiple skills.
Material Inclusion
It’s crucial to check whether the class fee includes materials, as this can significantly add to the overall cost. Some studios, like School of Couture, state that the cost includes “all fabric and supplies” for their monthly group classes, while others, like “In Stitches,” note that “Fabric charges are not included with the price of a membership” beyond the first class. Surrey County Council also states that their fee includes a small charge for demonstration materials but generally not for learner’s materials. Always clarify this before enrolling to avoid unexpected expenses.
Comparing Costs
When comparing costs, consider the total hours of instruction, whether materials are included, and the instructor’s expertise. A slightly higher upfront cost might be more economical if it includes all supplies or offers more intensive, personalised instruction.
Private Sewing Lessons for Adults
For those seeking highly personalised and accelerated learning, private sewing lessons for adults are an excellent investment. While generally more expensive per hour, they offer unmatched benefits.
Benefits of Private Tuition
- One-on-one tailored instruction: The lesson is entirely focused on your specific needs, goals, and learning style. If you want to master a particular technique, work on a complex personal project, or need help with a fitting issue, a private tutor can dedicate all their attention to you.
- Accelerated learning: With undivided attention, you can progress much faster than in a group setting. Your tutor can immediately address any questions or difficulties, ensuring you grasp concepts quickly.
- Focus on specific skills or projects: If you’re struggling with zippers, want to draft a pattern for a unique design, or need help altering a tricky garment, a private lesson can hone in on that precise area.
- Flexible scheduling: Private lessons offer flexible scheduling.
Online vs. In-Person Sewing Classes
Benefits of Online Sewing Classes for Adults
The digital age has brought an explosion of high-quality online sewing classes for adults, making learning more accessible than ever before.
- Flexibility: Perhaps the greatest advantage of online sewing classes for adults is the unparalleled flexibility they offer. You can learn at your own pace, anytime, and from anywhere in the UK – or indeed, the world. This is ideal for busy individuals, shift workers, or parents who need to fit learning around other commitments. Domestika explicitly promotes this, stating, “You set your own pace”.
- Accessibility: Online learning removes geographical limitations. You’re not restricted to classes available in your immediate vicinity, opening up a wider choice of instructors, specialisms, and course content from various international experts.
Finding Local In-Person Classes
The “Near Me” Advantage: Hands-on guidance, immediate feedback, access to shared equipment, social interaction. Although they are also welcome to bring their own. Miss Maker’s studio boasts Janome Sewing School Status, providing high-quality sewing and overlocker machines. This saves you the upfront cost of equipment purchase. Social interaction: In-person classes foster a sense of community, allowing you to connect with fellow students, share experiences, and make new friends who share your passion. Dedicated learning environment: Stepping into a studio removes you from the distractions of home, providing a focused space solely for learning and creativity.
Local Search Strategies
To find sewing classes near me for adults, employ a variety of local search strategies:
- Google Maps: A simple search for “sewing classes near me,” “sewing lessons for adults near me,” or “sew classes near me for adults” will often yield local studios, community centres, and adult education providers.
- Local Directories: Check online local business directories like Yell.com or Thompson Local, which list businesses.
Community Resources and Engagement
Sewing Clubs and Meetups
Joining a sewing club or meetup group is a fantastic way to connect with fellow enthusiasts and deepen your skills in a relaxed, informal setting.
Types of Groups
These can range from formal guilds (e.g., quilting guilds or dressmaking associations) to informal social groups that simply gather to sew and chat. There are also specific interest groups focused on particular areas like quilting, dressmaking, or sustainable sewing.
Activities
Sewing clubs offer a variety of activities:
- Sew-alongs: Group projects where everyone works on the same pattern, sharing tips and helping each other through challenges.
- Skill-sharing sessions: Members demonstrate techniques they’ve mastered, offering peer-to-peer learning opportunities.
- Guest speakers: Local designers, tailors, or textile artists might give talks or workshops.
- Charity projects: Many groups undertake projects to create items for charity, such as quilts for hospitals or clothing for those in need.
- Fabric swaps: A sustainable activity.
Local Craft Shops Offering Classes
The role of local craft shops in the sewing community cannot be overstated. They serve as a vibrant hub for sewers to connect and learn. They are invaluable resources for advice, troubleshooting, and inspiration.
Class Offerings
- Beginner-focused: Many craft shops offer beginner sewing classes near me for adults, designed to introduce new sewers to the craft and their products.
- Project-based classes: These often feature smaller, specific projects that can be completed in a single session or a short series, often using materials sold in the shop.
- Specialised workshops: You might find workshops on specific techniques like zipper installation, cushion making, or even basic machine maintenance.
Beyond Classes
Local craft shops are also invaluable for:
- Expert advice: Staff are usually passionate and knowledgeable, offering guidance on fabric choices, pattern selection, and suitable notions.
- Supplies: They stock a wide range of fabrics, threads, patterns, tools, and accessories.
- Machine servicing: Some shops offer on-site machine servicing or can recommend trusted local technicians.
- Community noticeboards.
What to Consider When Choosing a Class
With so many options available for sewing classes near me for adults, it’s important to consider several factors to ensure you choose the best fit for your personal needs and goals.
Your Skill Level
This is perhaps the most critical consideration. Be honest about your current abilities.
- If you’ve never touched a machine or only dabbled, a dedicated beginner sewing class for adults near me is essential. Look for classes explicitly labelled “absolute beginner” or “Sewing Machine 101”. You want a class that covers foundational techniques like machine parts, threading, bobbin winding, and basic stitches.
- If you’re comfortable with basic machine operation but want to expand your horizons, an “advanced beginner” or intermediate class might be suitable, perhaps focusing on simple knitwear or introducing closures.
- For those with a solid foundation, advanced sewing classes near me will challenge you with garment construction, fitting, or working with challenging fabrics. The Domestika.
Instructor Experience & Teaching Style
If possible, try a taster session or a single workshop before committing to a longer course. This allows you to experience the teaching style firsthand. Consider the instructor’s background. Some may be fashion designers, tailors, or textile artists, bringing a wealth of industry experience.
Class Size
Smaller class sizes generally offer more personalised attention and hands-on guidance, which can be particularly beneficial for beginners or when learning complex techniques.
- In Stitches Sewing & Design Studio limits its adult classes to 10 students.
- Miss Maker proudly states that their classes are “limited to six participants to ensure everyone has the space and attention they require”.
Larger classes might be more affordable, but you might get less individualised support.
Location & Schedule
Consider the convenience for your lifestyle.
- Local In-Person Classes: How far is the studio from your home or work? Is it easily accessible by public transport or car? Check parking.
Cost & Inclusions
You also need to understand what’s included in the price. Some classes provide all materials, while others require you to purchase them separately. Some studios require students to bring their own machine. Miss Maker’s studio provides high-quality Janome machines. This saves you the upfront cost of equipment purchase.
Reviews and Recommendations
Finally, thoroughly research the studio or instructor.
- Online Reviews: Check Google reviews, Facebook pages, and dedicated review platforms.
- Testimonials: Look at testimonials on the studio’s website.
- Word-of-Mouth: Ask for feedback from friends or local sewing enthusiasts. What do past students say about the teaching quality, atmosphere, and outcomes? High positive review rates, like Domestika’s 100% positive reviews, are a good indicator of quality.
By carefully considering these factors, you’ll be well-equipped to choose a sewing class for adults near me that aligns perfectly with your learning style, personal goals, and budget, setting you up for a truly satisfying and successful creative experience.
Conclusion
We hope this guide has illuminated the wealth of opportunities available for adult sewing classes. From searching for “sew classes near me for adults” to exploring specialised online courses, the journey into sewing is incredibly rewarding. Taking the plunge will not only equip you with practical skills but also provide a creative outlet, mental well-being, and a chance to connect with a passionate community. Sewing is a lifelong skill that brings immense satisfaction, so don’t wait – your next creative adventure is just a stitch away!
About the Author: Grace, Founder of London Sewing Courses
Grace is the heart and hands behind London Sewing Courses. A passionate and experienced sewing instructor, she founded the studio with a unique mission: to create a calm, friendly space for adults to learn and connect, while using the profits to fund free sewing classes for local children in need. Her personal expertise and commitment to community building are at the core of every class and every stitch.