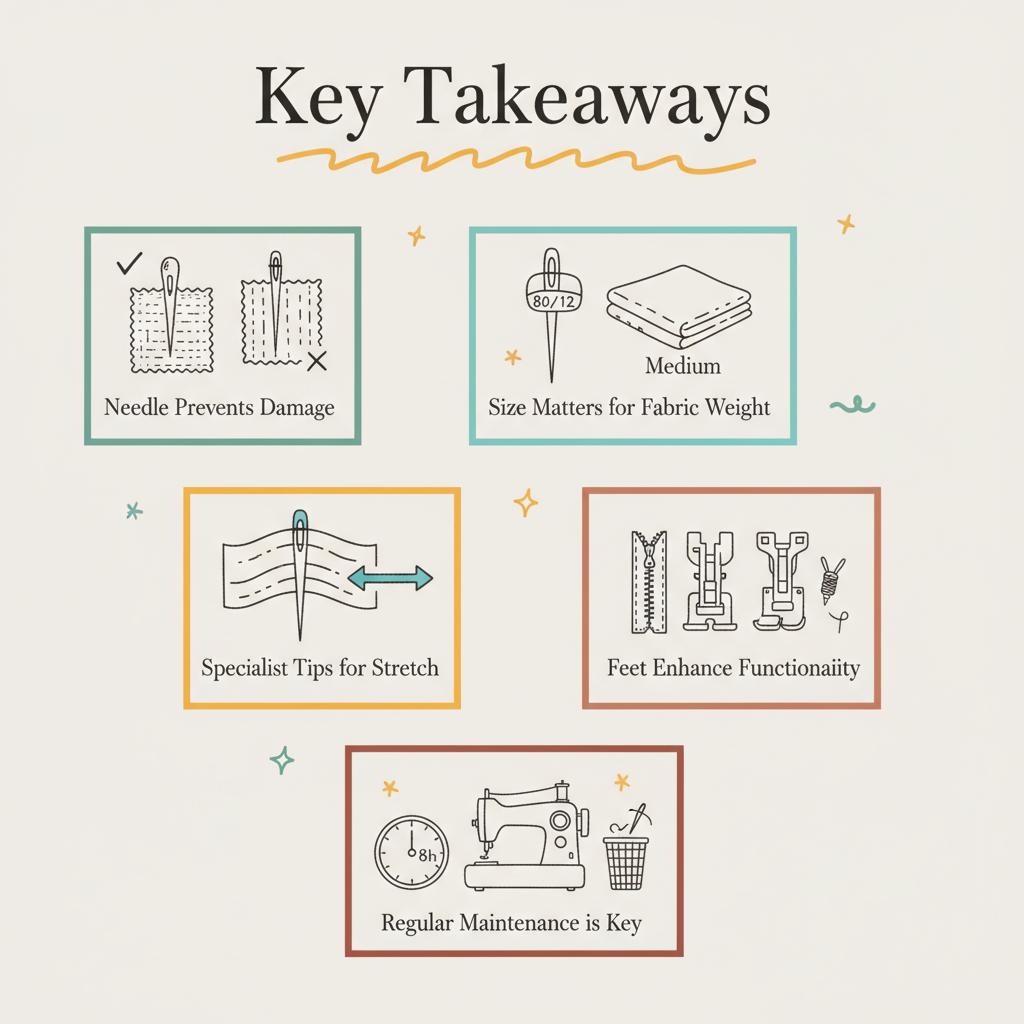
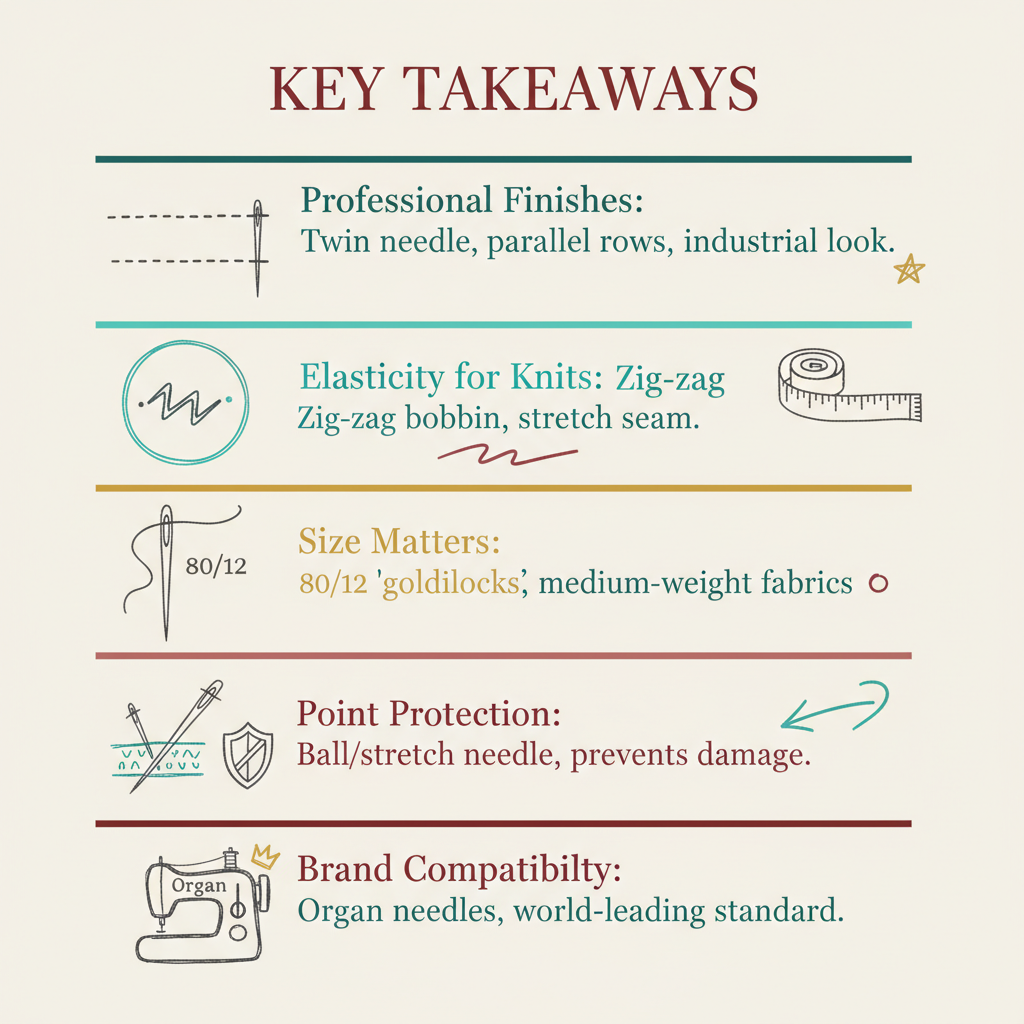
Key Takeaways
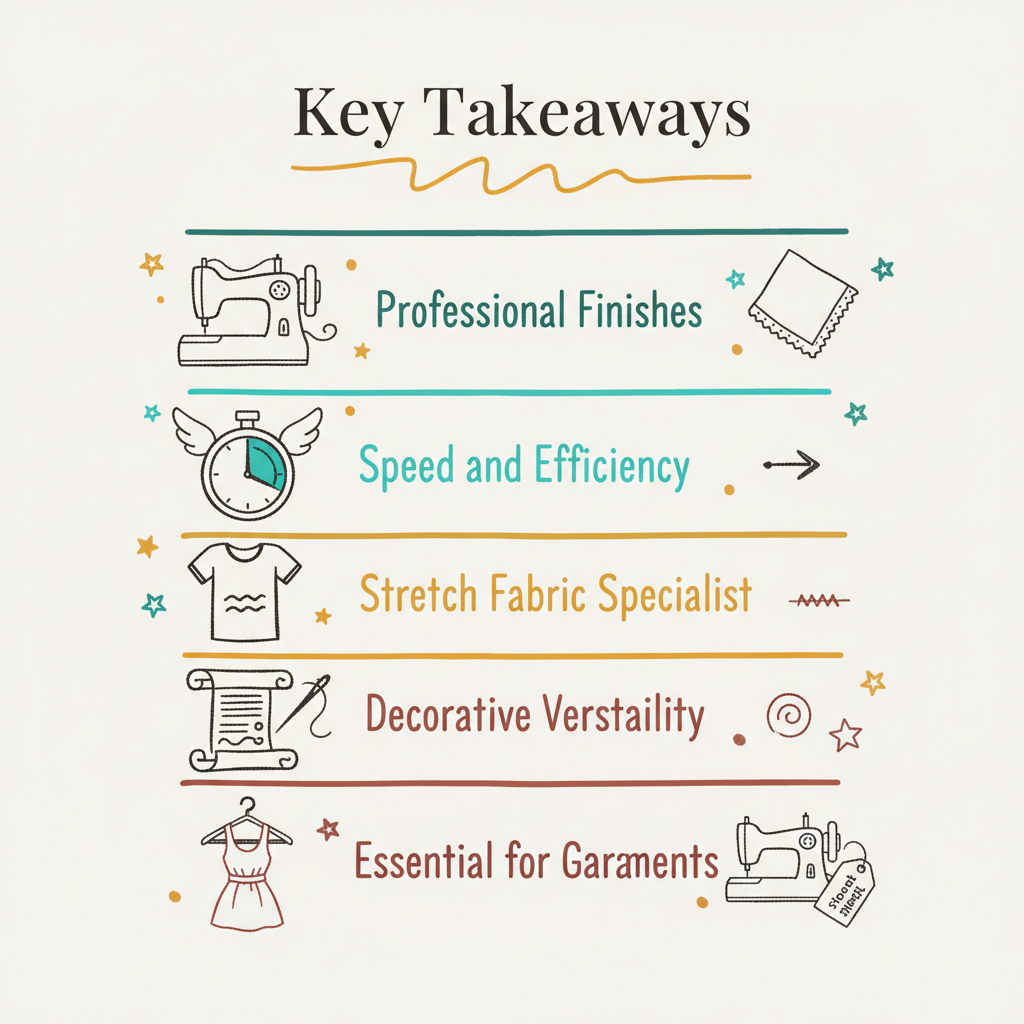
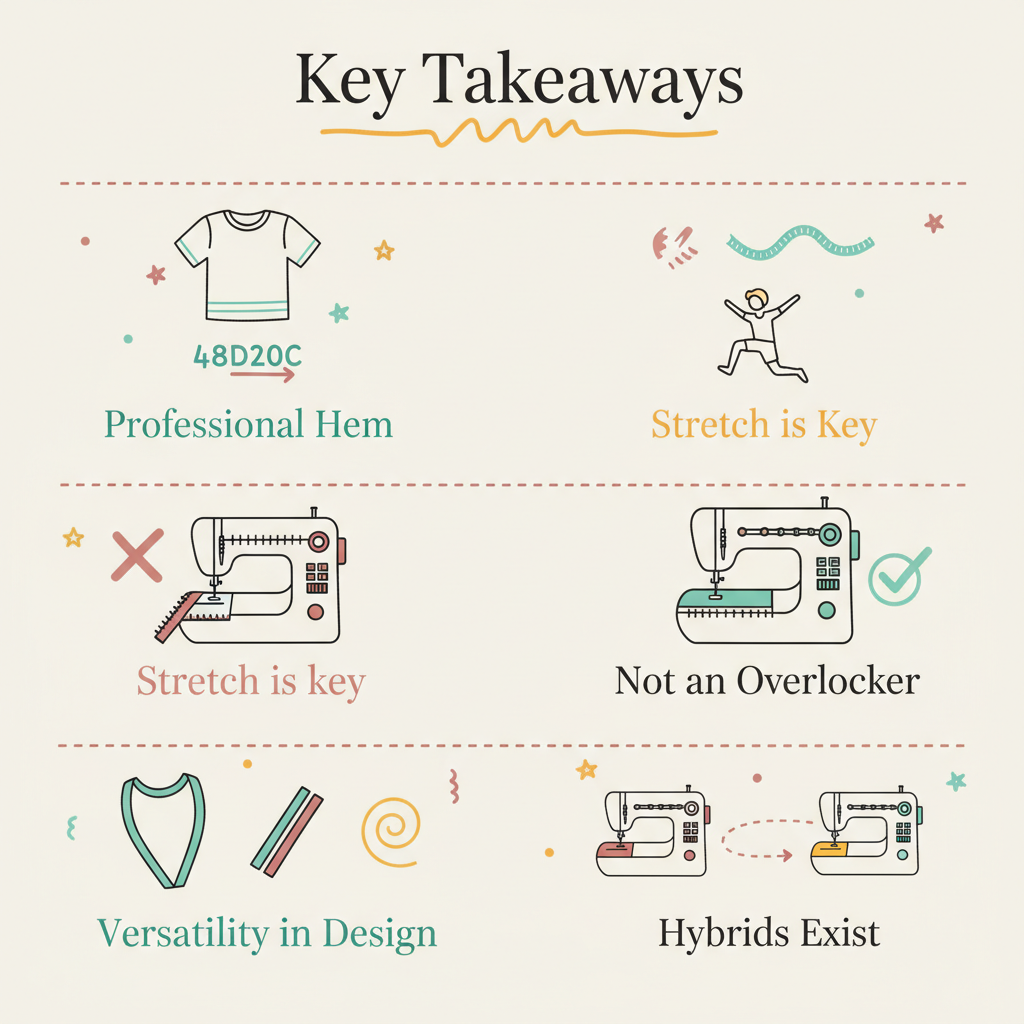
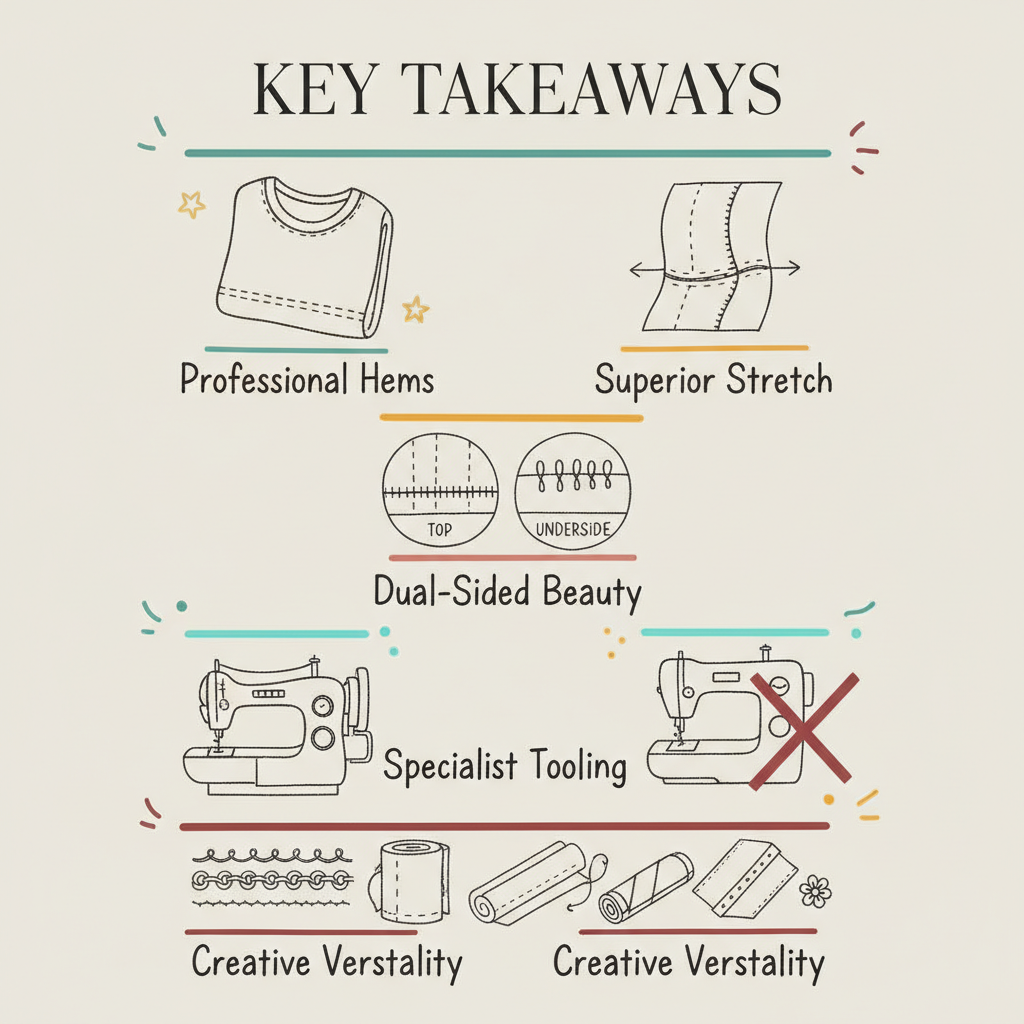
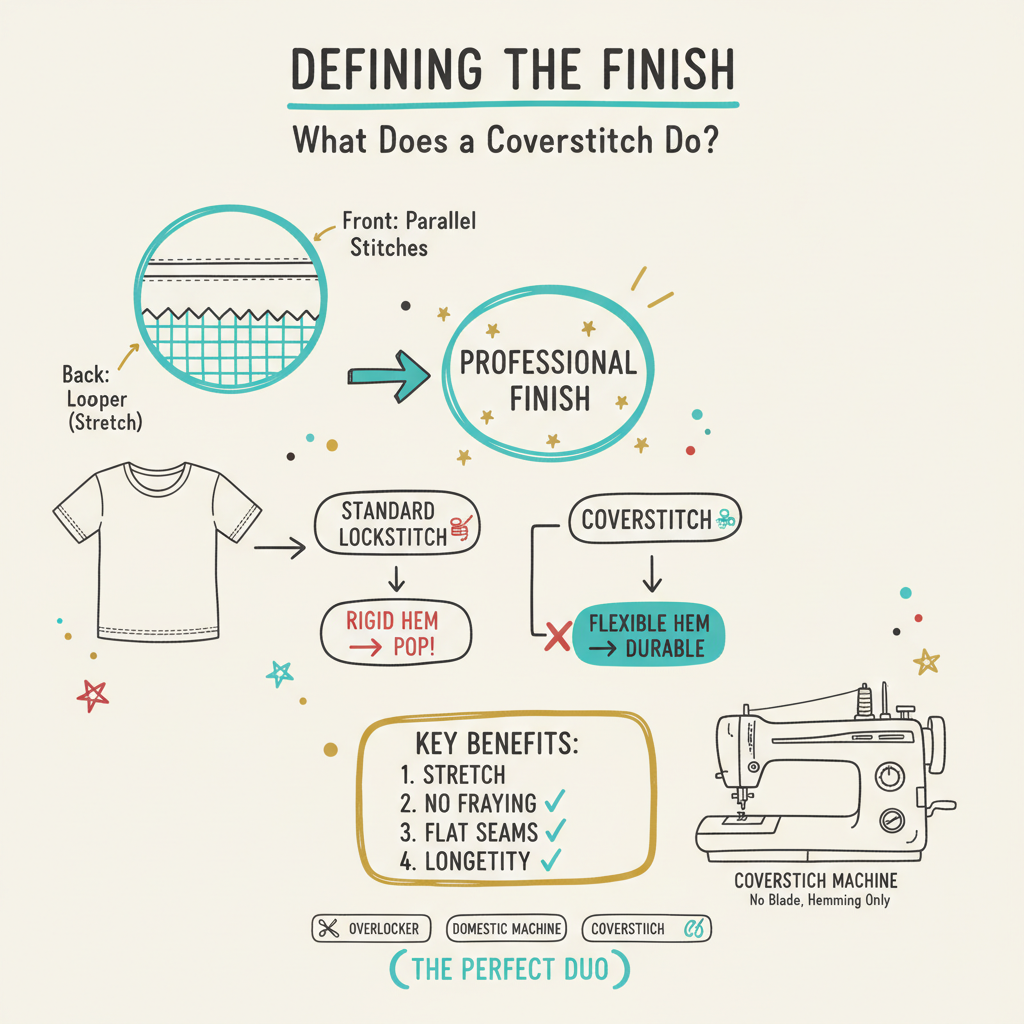
- Professional Finishes: A twin needle creates two perfectly parallel rows of stitching on the top of the fabric, mimicking the look of an industrial coverstitch machine.
- Elasticity for Knits: The bobbin thread creates a zig-zag pattern on the reverse, allowing the seam to stretch without the thread snapping.
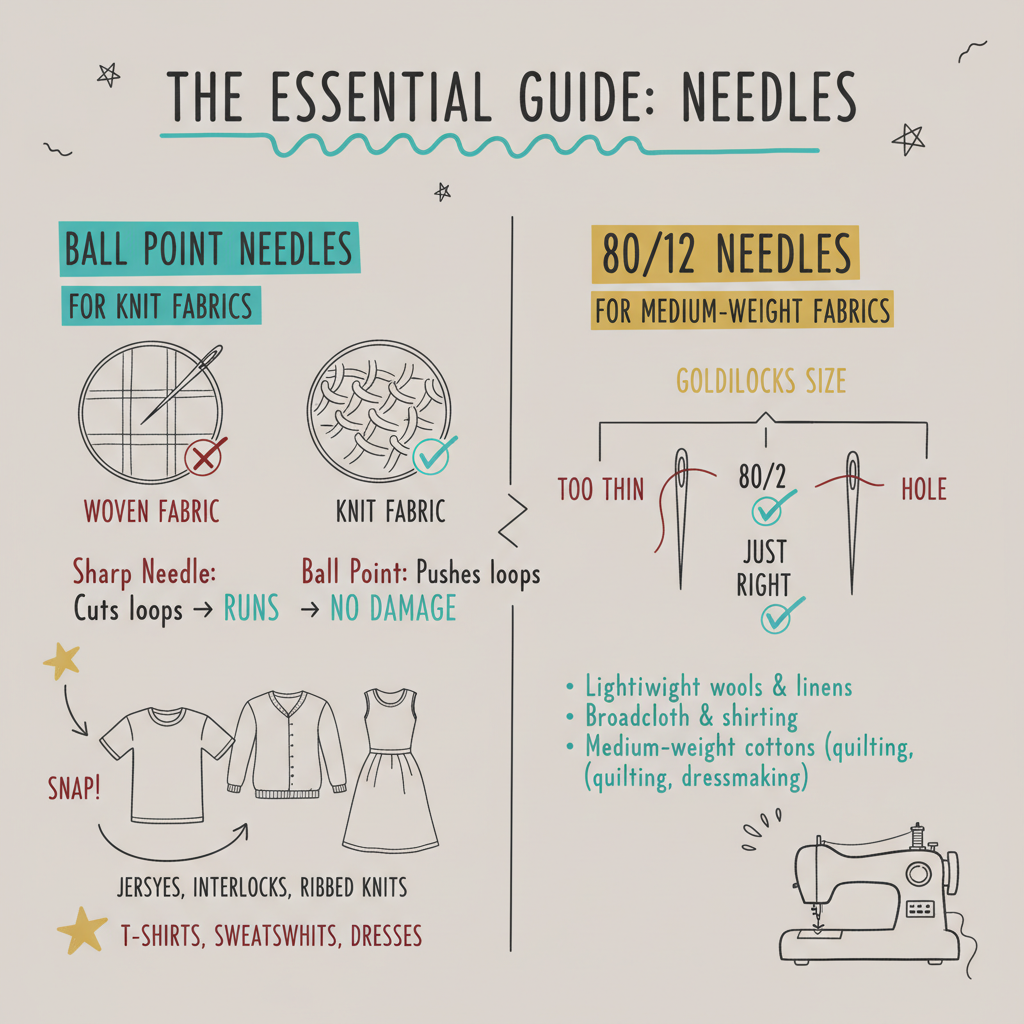
- Size Matters: An 80/12 needle is the ‘goldilocks’ of sizes, perfect for medium-weight fabrics like cotton lawn or linen.
- Point Protection: Using a ball point or stretch needle prevents permanent damage to knit fibres by sliding between them rather than piercing them.
- Brand Compatibility: Organ needles are a world-leading standard, known for their precision and compatibility with most domestic sewing machines.
Every creative journey begins with a single step, and in the world of dressmaking, that step is often threading your first needle. As you grow in confidence, you may find yourself looking at the internal seams of your favourite shop-bought T-shirt and wondering how to replicate that sleek, parallel finish at home. The answer lies in a small but mighty tool that transforms the capability of your domestic machine.
Understanding the nuances of needle technology is more than just technical trivia; it is the foundation of professional-standard garments. Whether you are attending our workshops tailored for grown-ups or experimenting in your own creative space, knowing which needle to reach for will save you from the frustration of skipped stitches and puckered fabric. Let us embark on this deep dive into the delicate world of sewing machine needles together.

Exploring the Versatility: What is a Twin Needle Used For?
The most common question I receive from students ready to tackle jersey projects is, “What is a twin needle used for?” At its most basic, a twin needle (often called a double needle) consists of two separate needles mounted onto a single plastic crossbar. This bar fits into your machine’s needle bar just like a single needle would.
When you sew with a twin needle, your machine uses two upper spools of thread and one bobbin. As the needles move up and down, they create two parallel rows of straight stitching on the right side of the fabric. Meanwhile, the bobbin thread catches both upper threads, creating a zig-zag pattern on the underside. This clever mechanical dance is what gives the stitch its incredible flexibility.
While most people use it for hemming T-shirts, its utility extends far beyond simple knits. You can use it for decorative topstitching on denim, creating beautiful pintucks on heirloom blouses, or even for utility stitching on elasticated waistbands. It is the secret weapon for anyone who wants their handmade wardrobe to look indistinguishable from high-end retail pieces. If you are exploring garment modification techniques, mastering the twin needle is a significant milestone in your development.
Deciphering the Numbers: What is an 80 12 Needle Used For?
When you look at a pack of needles, you will see two numbers separated by a slash, such as 80/12. This can feel like a secret code, but it is actually a very simple sizing system. The first number (80) is the European metric size, representing the diameter of the needle shaft in hundredths of a millimetre. The second number (12) is the American sizing system.
So, what is an 80 12 needle used for? This size is essentially the ‘universal’ choice for the modern sewist. It is sturdy enough to handle the thickness of a standard cotton or linen, yet fine enough not to leave gaping holes in the weave. It is the needle you will likely use for the vast majority of your projects, from constructing summer dresses to sewing structured cushion covers.
In our curriculum for aspiring dressmakers, we emphasize that an 80/12 needle is your reliable companion. However, precision is key. If you move to a very fine silk, you would drop down to a 70/10. For heavy denim or canvas, you would move up to a 90/14 or 100/16. Always remember that the needle should be as fine as possible for the fabric while remaining strong enough to pierce the layers without bending.
Mastering the Stretch: What is a Stretch Needle?
Jersey, Lycra, and modern performance fabrics are delightful to wear but can be a nightmare to sew if you use the wrong equipment. You might find your machine skipping stitches or the thread snapping as soon as you pull the garment on. This is where the stretch needle becomes essential.
What is a stretch needle, exactly? While it looks similar to a universal needle, it has a specifically engineered ‘scarf’ (the indentation above the eye) and a slightly rounded tip. This design allows the bobbin hook to catch the thread loop more easily, even when the fabric is flexing and bouncing under the presser foot.
The stretch needle is designed specifically for highly elasticated fabrics with a high Lycra or Spandex content. If you are sewing swimwear, leggings, or very stretchy athletic gear, this is the tool for the job. Using a universal needle on these fabrics often results in a ‘popping’ sound as the needle forces its way through the elastic fibres, which can eventually lead to small holes or ‘runs’ in your fabric.
Protecting Your Knits: What is Ball Point Needle Used For?
It is easy to confuse a stretch needle with a ball point needle, as both are used for knit fabrics. However, they serve slightly different purposes in your sewing journey. If you are wondering what is ball point needle used for, think of standard knits like T-shirt jersey, interlock, or sweatshirt fleece.
A ball point needle has a tip that is rounded rather than sharp. Instead of piercing the yarns of the knit fabric, the rounded tip gently pushes the fibres aside and slides between them. This prevents the needle from cutting the threads that make up the fabric. If you have ever noticed tiny holes appearing along the seams of a knitted garment after a few washes, it is almost certainly because a sharp needle was used during construction, damaging the integrity of the knit.
For students joining our North London sewing community, we often recommend keeping a variety of ball point sizes in your kit. A size 70/10 ball point is perfect for lightweight jerseys, while a 90/14 is ideal for heavy ribbing or thick winter knits. It is all about preserving the life of your creations through thoughtful tool selection.
The Specialist’s Touch: What is a Wool Needle?
As we move into heavier textiles and hand-finishing, we encounter the wool needle. In the context of sewing machines, a ‘wool needle’ often refers to a Topstitch or Embroidery needle with an extra-large eye and a deep groove. However, in the wider world of needlework, it usually refers to a large-eyed hand needle, often called a tapestry or darning needle.
What is a wool needle used for in a professional setting? It is designed to accommodate thick, fuzzy yarns without shredding them. If you are sewing a heavy woollen coat and need to do decorative topstitching with a thicker silk or wool thread, a specialized topstitch needle on your machine will prevent thread breakage.
For hand-finishing, a wool needle is essential for weaving in loose ends on knitted garments or joining knitted panels together. The blunt tip ensures you don’t split the yarn as you work. This attention to detail is what separates a hobbyist from a true artisan. Whether you are using a machine or working by hand, matching the needle to the weight and texture of your wool is a mark of a skilled maker.
Quality and Precision: What is an Organ Needle for a Sewing Machine?
When you invest in a high-quality sewing machine, the needles you use act as the direct interface between your creative vision and the fabric. One brand you will frequently encounter in professional circles is Organ. But what is an organ needle for a sewing machine in terms of its reputation?
Organ is a Japanese company that has been manufacturing needles for over a century. They are the preferred choice for many industrial garment factories and high-end domestic machine manufacturers. When we talk about an ‘Organ needle’, we are talking about a standard of manufacturing that ensures the needle is perfectly straight, the eye is polished to prevent thread fraying, and the heat treatment ensures the perfect balance of flexibility and strength.
Using high-quality needles like these reduces the risk of machine timing issues. A cheap, poorly made needle can have slight imperfections that cause it to strike the bobbin case or skip stitches. If you are currently mastering your first device, starting with premium needles is one of the best habits you can form. It ensures that any issues you encounter are likely due to technique rather than equipment failure.
Our Unique Insight: The Philosophy of the Point
In my years as a tutor, I have realised that the needle is not just a tool; it is a bridge. There is a philosophy to needle selection that goes beyond the technical manuals. We often think of sewing as ‘joining’ things, but at a microscopic level, sewing is about ‘negotiating’ space within the fabric’s structure.
The unique insight I share with my intermediate students is that the needle’s point is a silent communicator. A sharp point ‘demands’ entry, which is perfect for woven fabrics where the threads are locked in a grid. A ball point ‘asks’ for entry, gently nudging aside the loops of a knit. When you start to view your fabric as a living structure rather than a flat surface, your needle choice becomes intuitive.
This intuitive connection is what we foster in our archive of creative tutorials. Instead of just following a chart, ask yourself: “How does this fabric want to be treated?” A delicate silk chiffon needs a tiny, sharp needle to avoid snagging. A rugged denim needs a heavy, reinforced needle to punch through the indigo-dyed walls of the weave. Listen to your fabric, and the needle choice will follow.
Actionable Strategy: The Stitch Portfolio
To truly master the use of specialized needles, I encourage every student to create what I call a ‘Stitch Portfolio’. This is a physical record of your experiments and will become your most valuable reference guide.
- Create Sample Swatches: Take a 10cm square of jersey and use a twin needle to hem it. Staple or sew this into a notebook.
- Document the Data: Next to the swatch, write down the needle type (e.g., Twin Stretch 2.5/75), the thread brand, and the tension settings on your machine.
- Test the Tension: If your twin needle hem is ‘tunnelling’ (forming a ridge between the two lines), note down how you adjusted the bobbin or top tension to fix it.
- Compare Points: Sew a line with a universal needle and a line with a ball point needle on the same knit scrap. Pull the fabric hard. Note which one causes the thread to snap or the fabric to develop holes.
By building this portfolio, you are not just learning; you are collecting evidence of your own growth. This strategy turns a theoretical understanding of “what is an 80 12 needle used for” into a practical, hands-on skill that you can rely on for years to come.
The Practical Path: Transitioning to Advanced Needles
Once you are comfortable with the basics, moving into advanced needlework requires a shift in how you manage your workspace. It is easy to lose track of which needle is currently in your machine, especially since the markings are so small they are nearly impossible to read once the needle is installed.
Needle Management Systems
I always recommend a simple ‘needle pin cushion’ system. Divide a small pincushion into sections using a fabric marker. Label the sections: Universal, Stretch, Ball Point, Denim, and Twin. When you remove a needle that still has life in it, place it in the correct section. This prevents you from accidentally using a sharp needle on a delicate knit later in the day.
The Life Cycle of a Needle
Many beginners make the mistake of using the same needle for months. In a professional studio, we change the needle after every eight hours of sewing time, or at the start of every new project. A dull needle works your machine’s motor harder, creates more noise, and damages your fabric. If you hear a ‘thudding’ sound as the needle enters the fabric, it is time for a change.
Building Your Confidence in the Studio
The jump from basic straight stitching to using a twin needle or a size 100 denim needle can feel intimidating. The machine sounds different, the threading is more complex, and the stakes feel higher. However, this is exactly where the most rewarding learning happens.
If you find yourself hesitating, remember that every expert was once a beginner who wasn’t afraid to break a needle or two. In our studio, we celebrate the ‘oops’ moments because they are the fastest way to learn how the machine’s mechanics truly function. Whether you are aiming to sew your own wedding dress or simply want to repair a pair of favourite trousers, your willingness to experiment with different needles is what will get you there.
Frequently Asked Questions (FAQ)
What is a twin needle used for most effectively?
A twin needle is most effectively used for hemming knit garments, such as T-shirts or leggings. Because the bobbin thread creates a zig-zag pattern on the back, the stitch is naturally elastic. This allows the hem to stretch as the wearer moves or pulls the garment on, preventing the thread from snapping. It is also excellent for decorative pintucks on lightweight woven fabrics like linen or cotton lawn.
Can I use an 80/12 needle for all my projects?
While an 80/12 needle is a fantastic universal choice for medium-weight fabrics, it is not suitable for everything. If you are working with very fine fabrics like silk or chiffon, you should switch to a 60/8 or 70/10 to avoid leaving large holes. Conversely, for heavy denim or multiple layers of canvas, you will need a 90/14 or 100/16 to ensure the needle doesn’t bend or break under the pressure.
What is the main difference between a stretch needle and a ball point?
The main difference lies in the design of the needle’s scarf and point. A ball point needle has a rounded tip designed to slide between the loops of standard knit fabrics like jersey. A stretch needle has a specialized scarf and a slightly less rounded tip, specifically engineered to prevent skipped stitches on high-stretch fabrics like Lycra, Spandex, or elasticated swimwear. Choosing the right one depends on the elastane content of your fabric.
Conclusion
Understanding the intricate details of needle selection is a vital part of your evolution as a sewist. From knowing what is a twin needle used for to appreciating the precision of an Organ needle for a sewing machine, these small choices culminate in a garment that is durable, comfortable, and beautiful. The world of textiles is vast and varied, and your needles are the guides that help you navigate every new fabric you encounter.
As you continue your journey, keep your curiosity alive. Don’t be afraid to try a new needle size or experiment with a decorative twin-stitch hem. Every project is a lesson, and every stitch is a step toward mastery. Whether you are joining us for sewing classes London for beginners or taking on an advanced tailoring project, your expertise will flourish through practice and patience.
About the Author: Grace, Founder of London Sewing Courses
Grace is the heart and hands behind London Sewing Courses. A passionate and experienced sewing instructor, she founded the studio with a unique mission: to create a calm, friendly space for adults to learn and connect, while using the profits to fund free sewing classes for local children in need. Her personal expertise and commitment to community building are at the core of every class and every stitch.
Sources
- How to Use a Twin Needle: Tips and Tricks – CamiMade (https://camimade.com/how-to-use-a-twin-needle-tips/)
- Twin Needle Specifications and Uses – WeaverDee (https://weaverdee.com/blogs/news/needle-twinspec)